Preparation and Installation of the CDRouter Demo
Thank you for exploring CDRouter for your broadband gateway, CPE, and Wi-Fi access point testing needs! This page will help you get the CDRouter Demo up and running in seven easy steps. Please feel free to contact us at support@qacafe.com if you have any questions.
1. Select a Linux system
To get started, you must provide a suitable bare-metal Linux system that meets the hardware and software requirements below. Note that virtual machines are not supported.
Hardware requirements
An x86_64 (64-bit) PC with at least three (3) Ethernet interfaces is required. One interface will be used for management of the system and the other two will be used for testing. The two test interfaces will be connected to the LAN and WAN interfaces of the device under test (DUT).
Most 802.11 a/b/g/n/ac/ax/be Wi-Fi interfaces that are natively supported by Linux may also be used with the CDRouter Demo. Please contact support@qacafe.com for guidance on selecting an appropriate Wi-Fi interface, if needed.
Software requirements
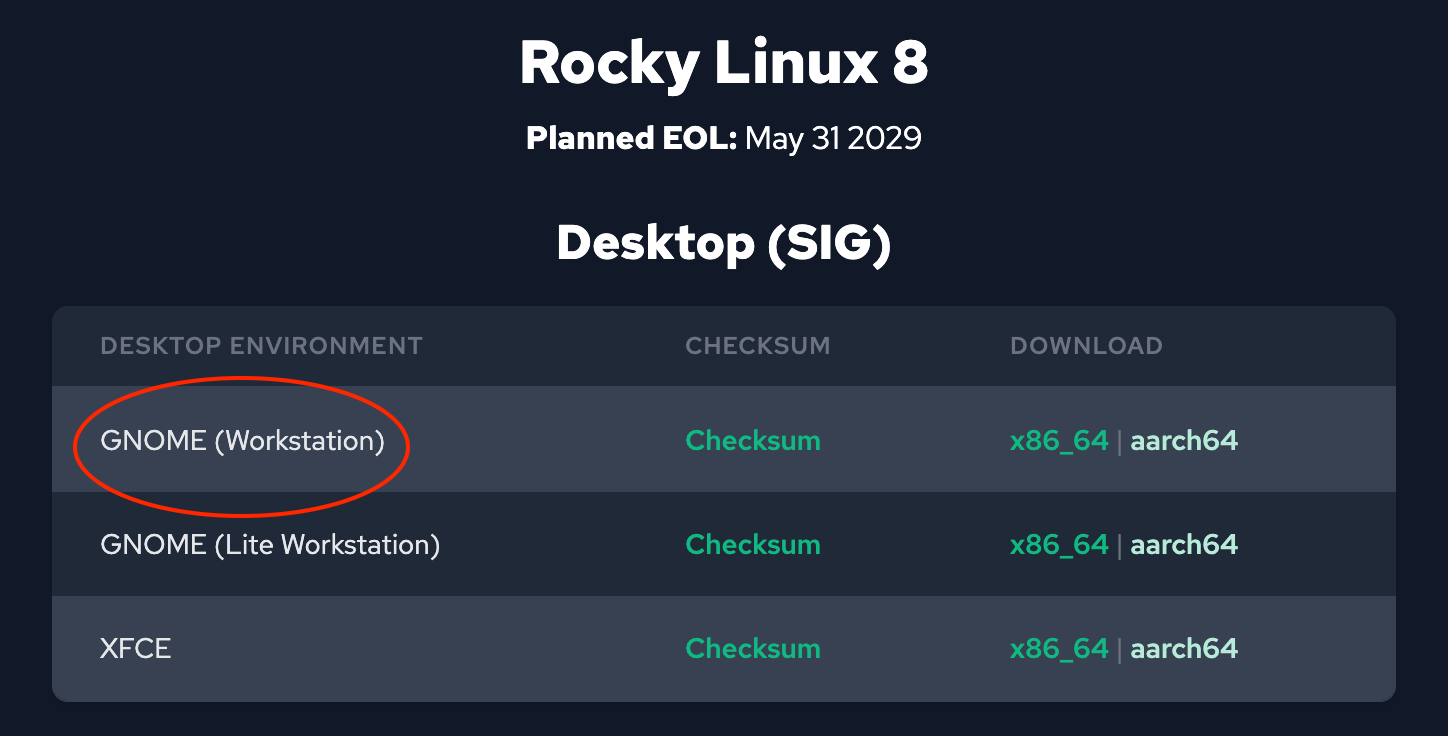
The CDRouter Demo must be installed on a system running Rocky Linux 8. Rocky Linux 9 is not currently supported.
We recommend downloading the GNOME (Workstation) ISO image from the Rocky Linux 8 download mirror:
The ISO image should be installed on a bootable USB stick that is 4 GB or greater in size.
2. Install Rocky Linux 8
Boot from the USB stick to start the Rocky Linux 8 installation process on your PC. When the Desktop appears, the option to run the Rocky Linux installation program will be displayed:
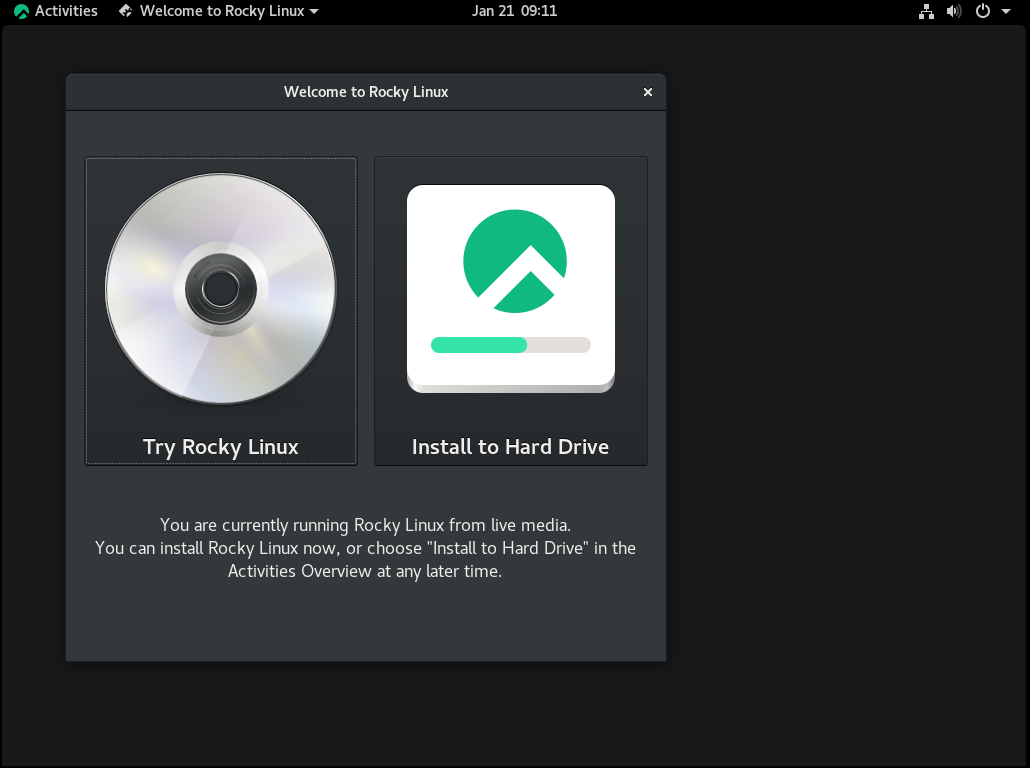
Select Install to Hard Drive to begin the installation process.
Note that you may need to perform a few Linux administration tasks prior to and during the installation of Rocky Linux 8, such as partitioning the hard drive, choosing a password for the root user, or adding an additional user:
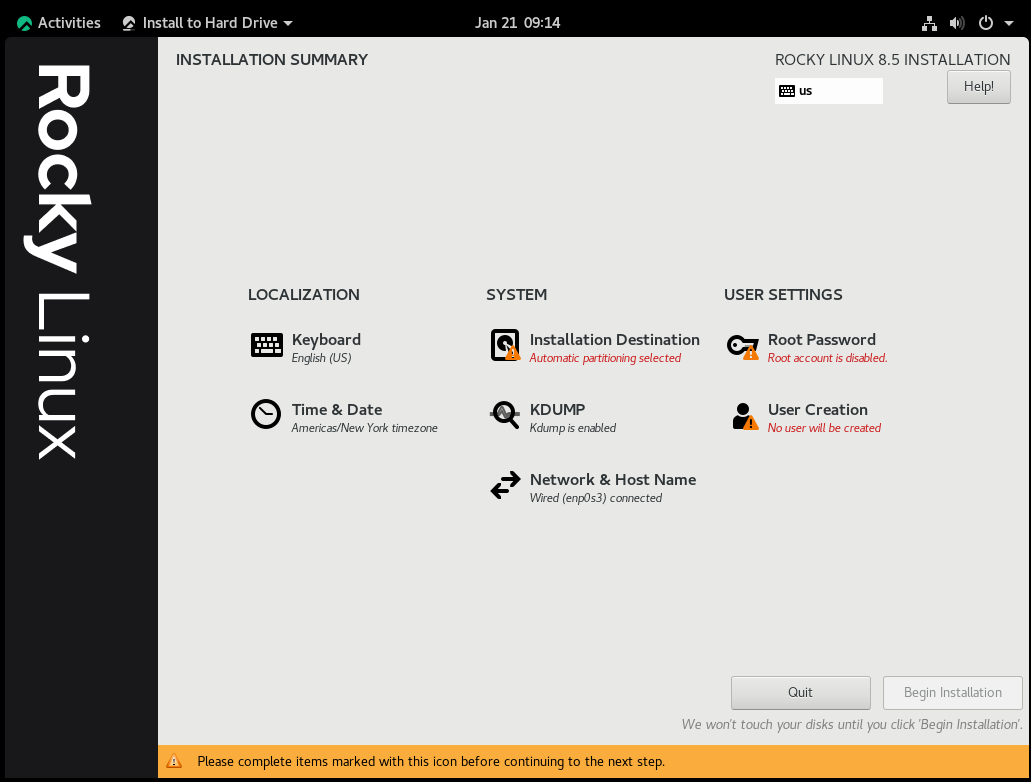
Once you’ve completed these tasks, press the Begin Installation button:
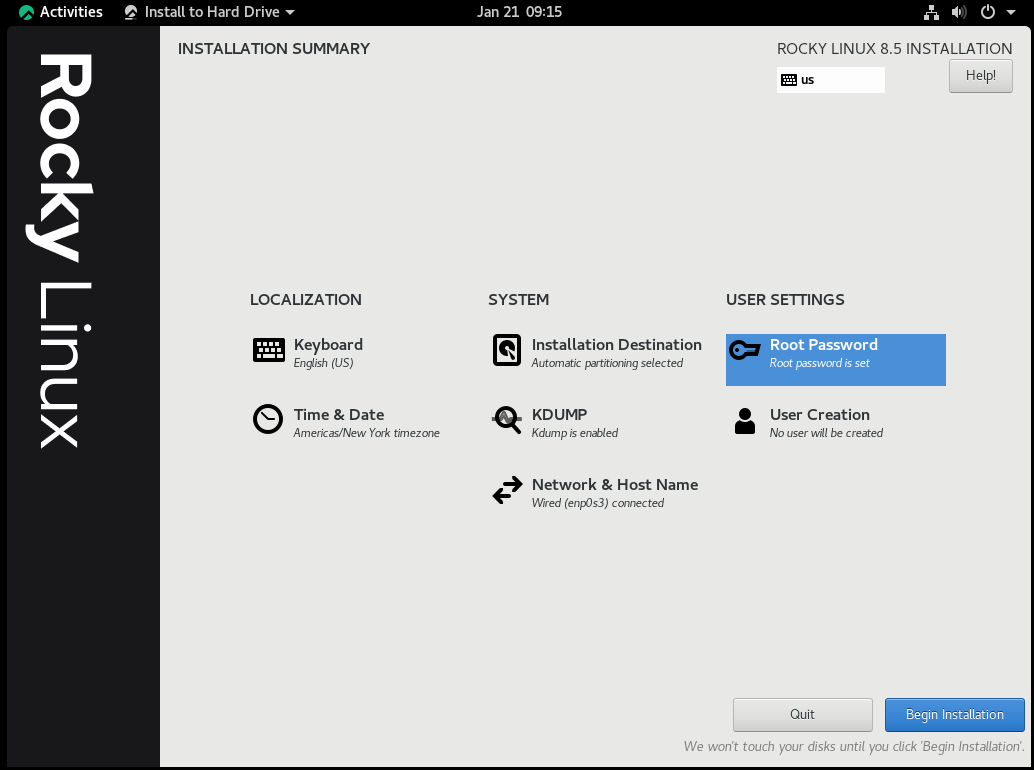
Note that the default installation settings will work in most situations.
Following installation, please remove the USB stick and reboot the system. The system should boot into Rocky Linux 8.
3. Post install setup
Disable firewalls
To access CDRouter’s web UI the selinux and firewalld services must be
disabled on the system. Please perform the steps below from a terminal window
or SSH session on the system.
a) As the root user, edit the selinux config file /etc/selinux/config and
change the value of the SELINUX option from enforcing to disabled:
# This file controls the state of SELinux on the system.
# SELINUX= can take one of these three values:
#     enforcing - SELinux security policy is enforced.
#     permissive - SELinux prints warnings instead of enforcing.
#     disabled - No SELinux policy is loaded.
SELINUX=disabled                                         <--------------
# SELINUXTYPE= can take one of these two values:
#     targeted - Targeted processes are protected,
#     mls - Multi Level Security protection.
SELINUXTYPE=targeted
b) Also as the root user, disable firewalld by running the following command:
systemctl disable firewalld
Network interface configuration
The network interfaces used by the CDRouter Demo for testing must be configured properly within Linux. The following page contains additional information and instructions on how to configure the test interfaces:
Reboot the system
Once all post install steps have been completed, reboot the system to apply all changes.
4. Log in to the QA Cafe Customer Lounge
The QA Cafe sales team will notify you via email that your CDRouter Demo request has been approved and that your account on the QA Cafe Customer Lounge has been created. The QA Cafe Customer Lounge is a portal managing and downloading CDRouter software and licenses.
Note that the QA Cafe Customer Lounge utilizes passwordless authentication. When you enter your email address and click the Continue button a login link will be sent to your registered email address. You must click on the link in this email to log in to the Customer Lounge. Note that the login link is only valid for 15 minutes.
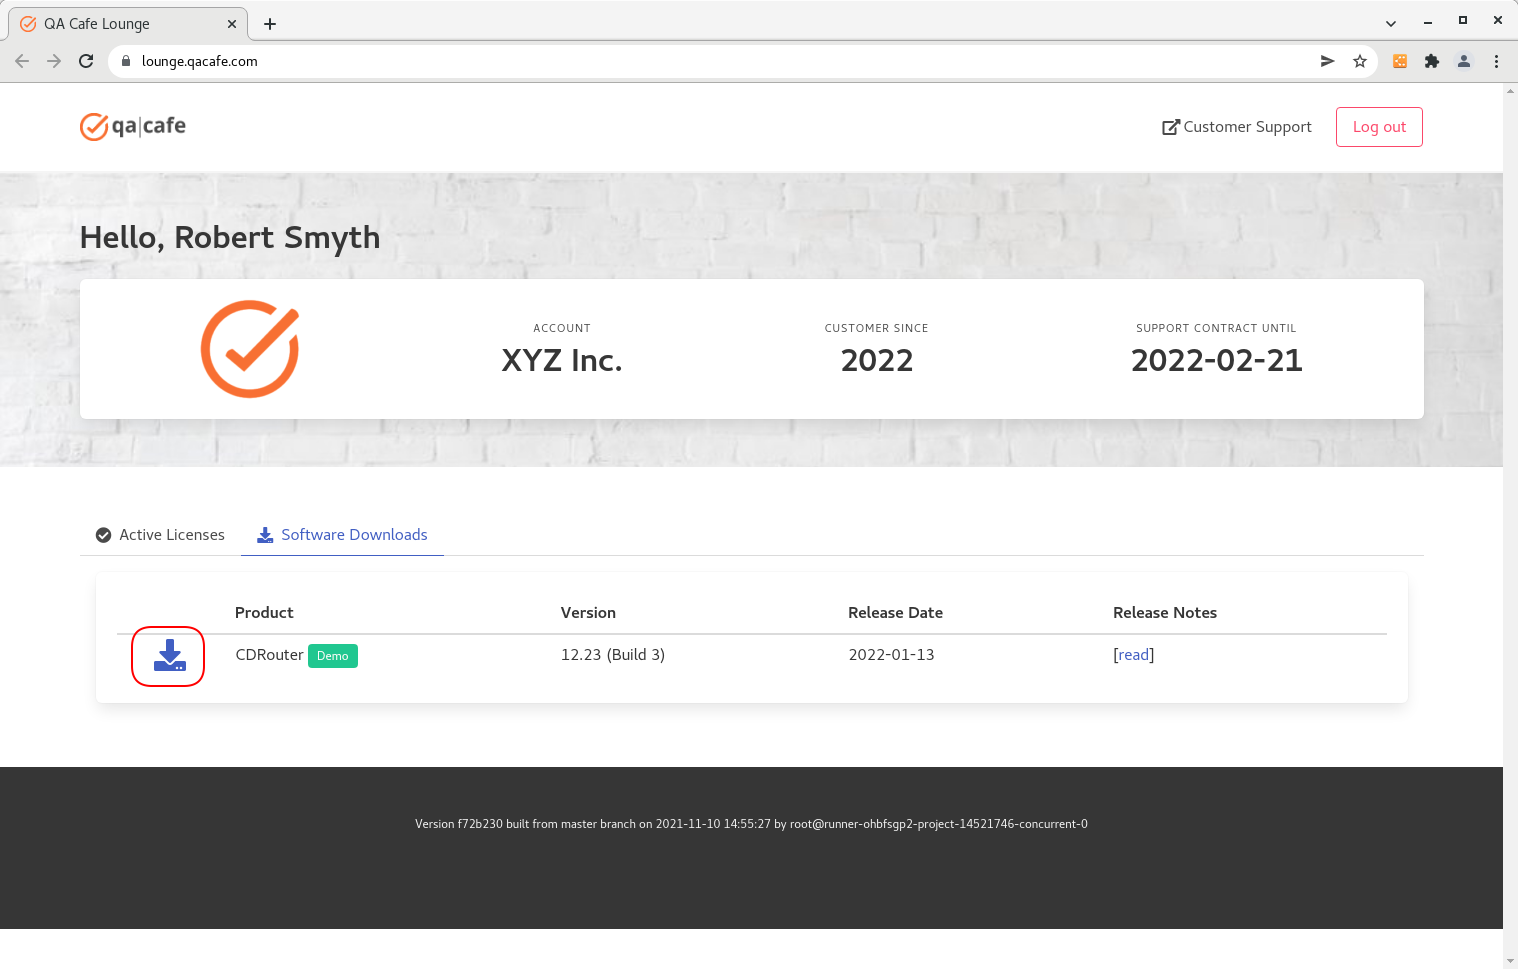
5. Download the CDRouter Demo software and license file
The CDRouter Demo software is distributed as an rpm file. Download the CDRouter Demo rpm file from the Software Downloads tab within the QA Cafe Customer Lounge:
Download the CDRouter Demo license file fro the Active Licenses tab:
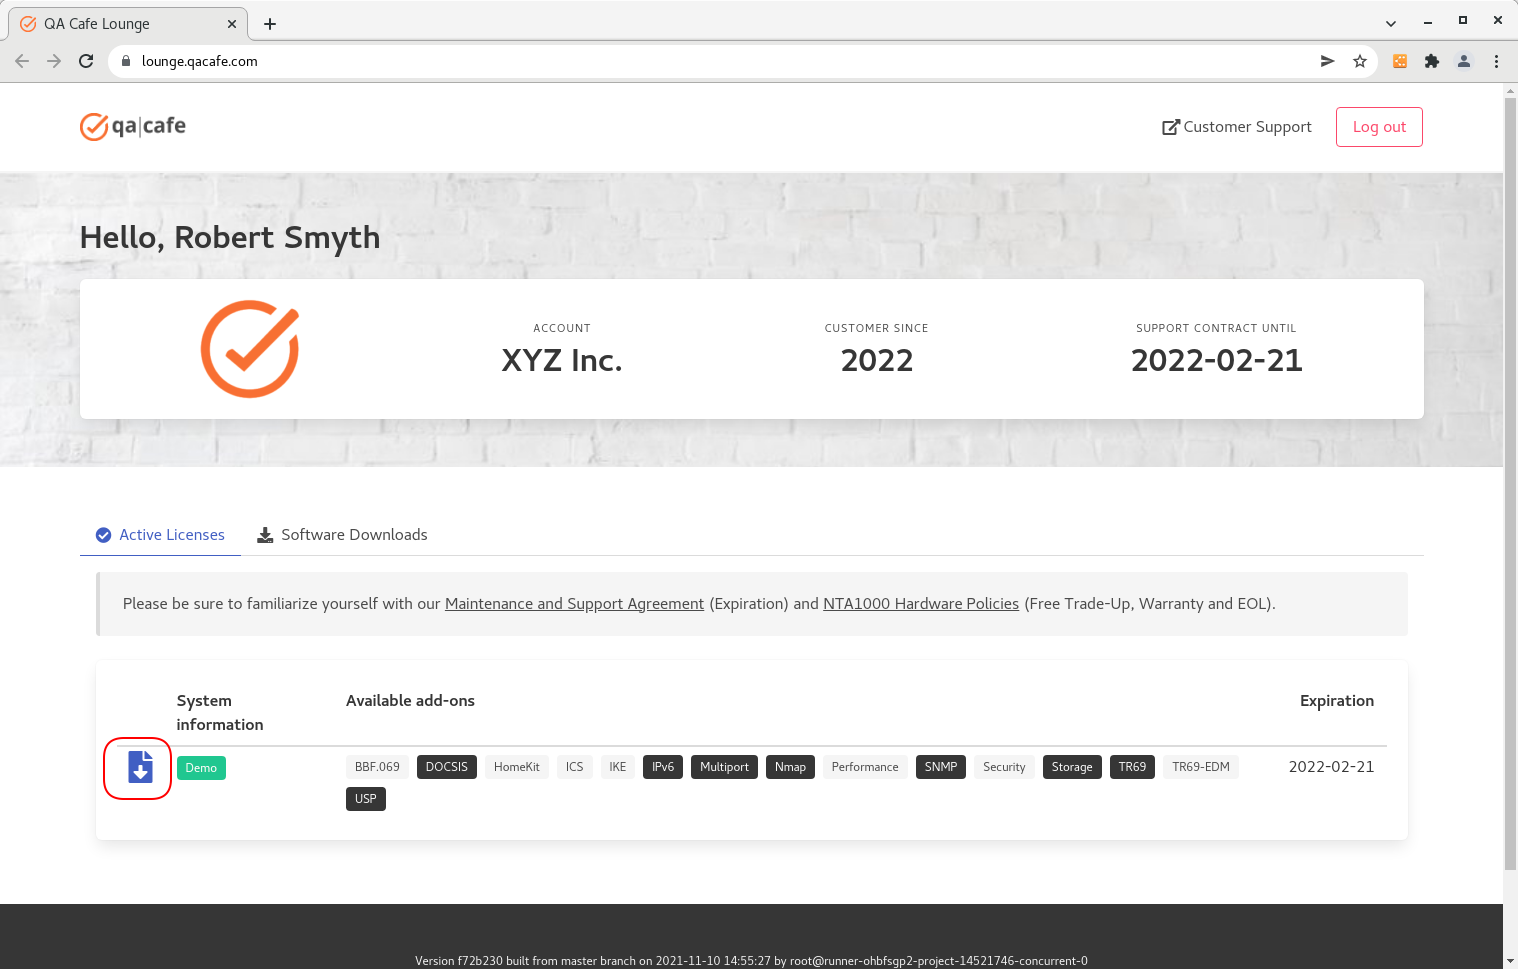
Copy both the CDRouter Demo software and license file to your Linux system.
6. Install the CDRouter Demo software and license file
The downloaded license file must be copied to the /usr/cdrouter-data/etc
directory on your Linux system.
As the root user, install the CDRouter Demo rpm using the yum command:
yum install cdrouter-demo-13.0.0-1.qacafe.x86_64.rpm
Note that the filename will contain the current version number of the CDRouter Demo software downloaded, and may be different than the example above.
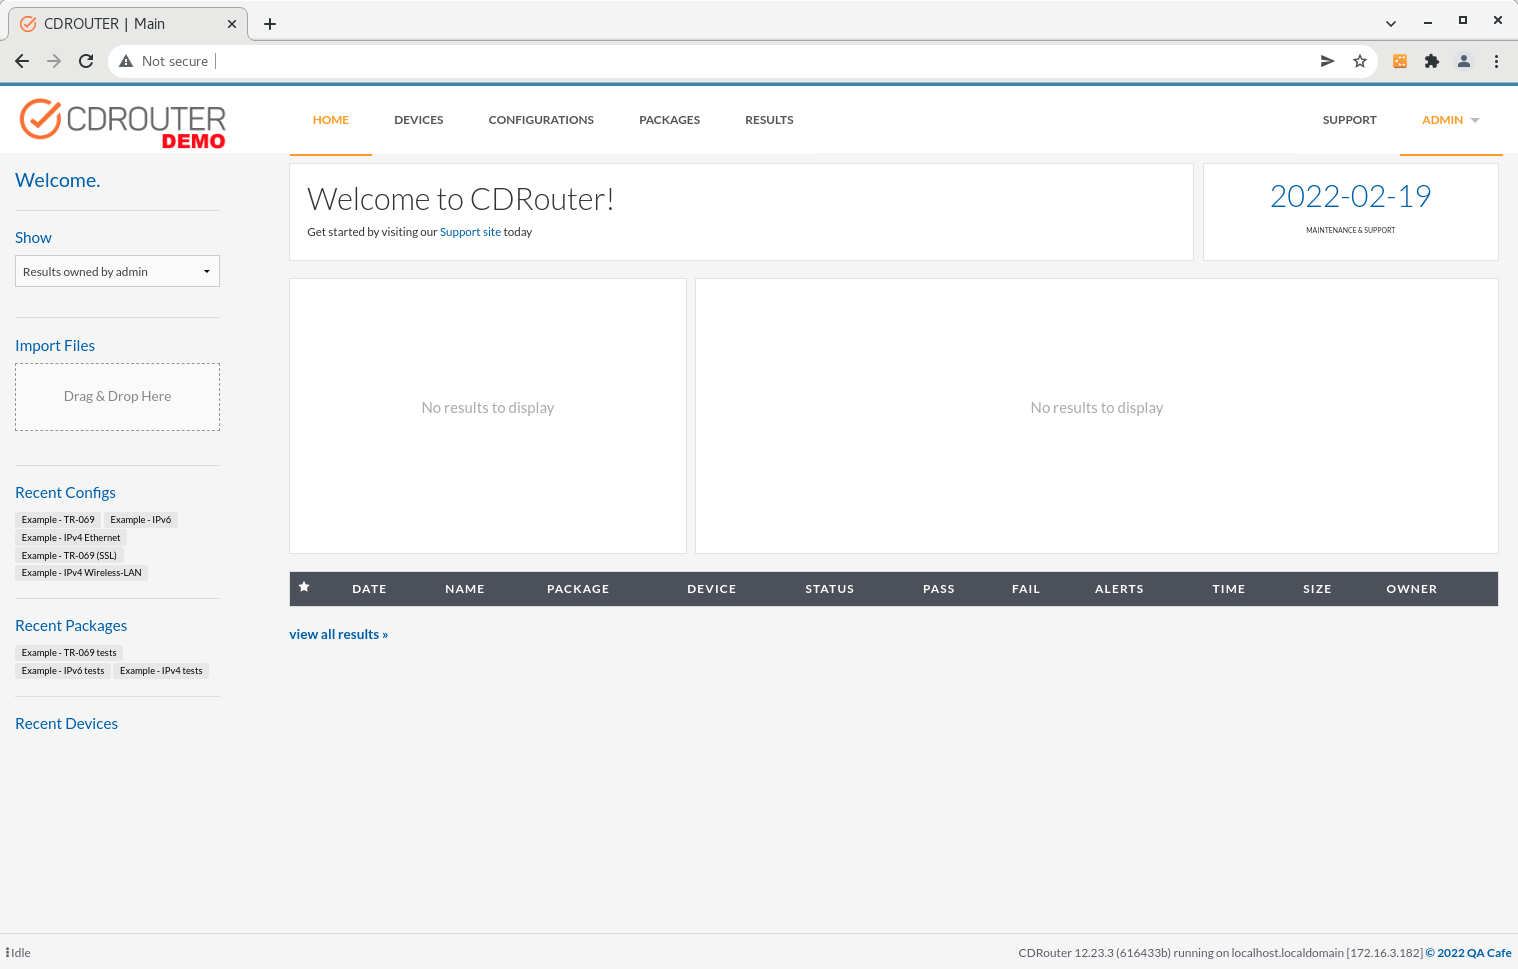
7. Connect to the CDRouter web UI
The CDRouter web UI may now be accessed locally by opening a browser and navigating to following URL:
https://localhost/
The system may also be accessed remotely using the management IP of the system:
https://<CDRouter-Management-IP>/
If you are having trouble getting to this page, please try restarting CDRouter or contact support@qacafe.com:
systemctl restart cdrouter
Once you have the CDRouter Demo up and running, click the link below for instructions on how to configure CDRouter and run your first tests:
We want you to be successful using CDRouter, so please don’t hesitate to contact the CDRouter Support Team at support@qacafe.com if you have any questions or concerns.
Thank you and happy testing!