Running your first CDRouter test
Your demo system will show you the fundamentals of CDRouter’s comprehensive automation, expert test cases, and validation.
Browsing to the dashboard
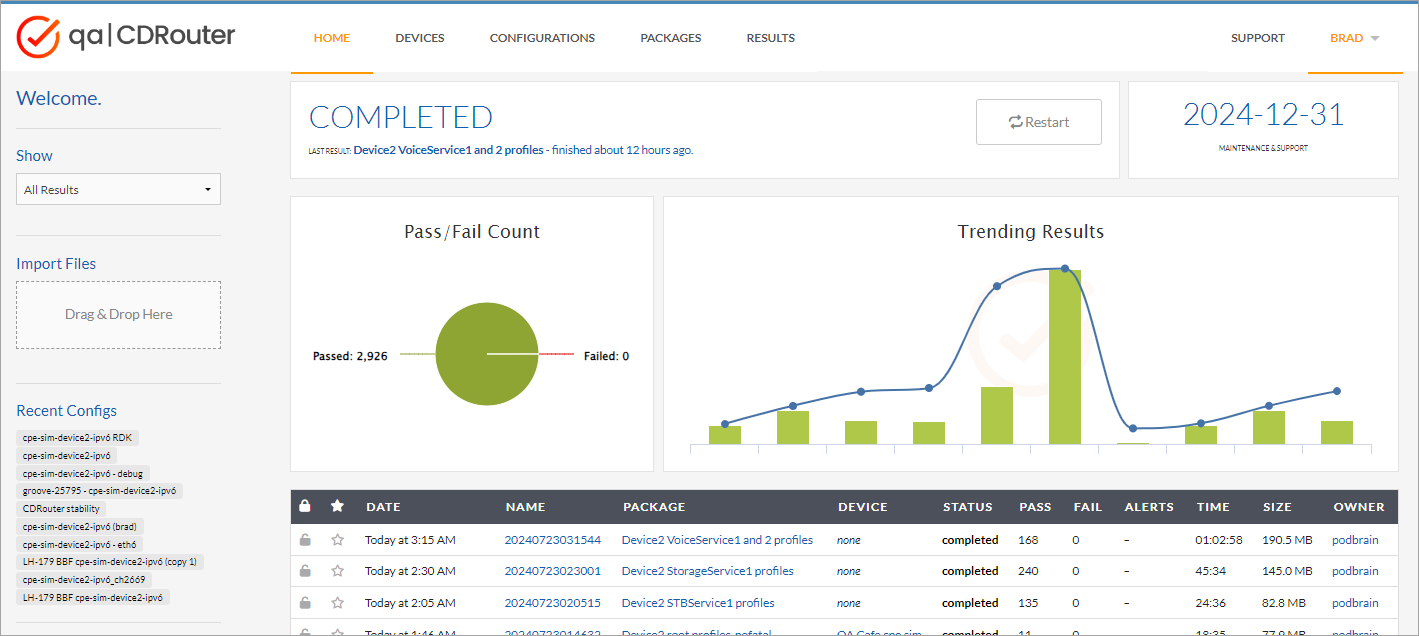
To connect to CDRouter, simply browse to the IP address discovered for eth0. When you first connect you’ll see the dashboard. This view gives you an overview of the most recently run tests and their status.
Choose your test interfaces
-
Your demo comes with several pre-generated configurations.
-
Depending on the system you are running the demo from, you may need to edit the
lanInterfaceandwanInterfacetestvars to make sure CDRouter is using the right interfaces. When you click on these variables, you’ll be given a list of the interfaces available on your system.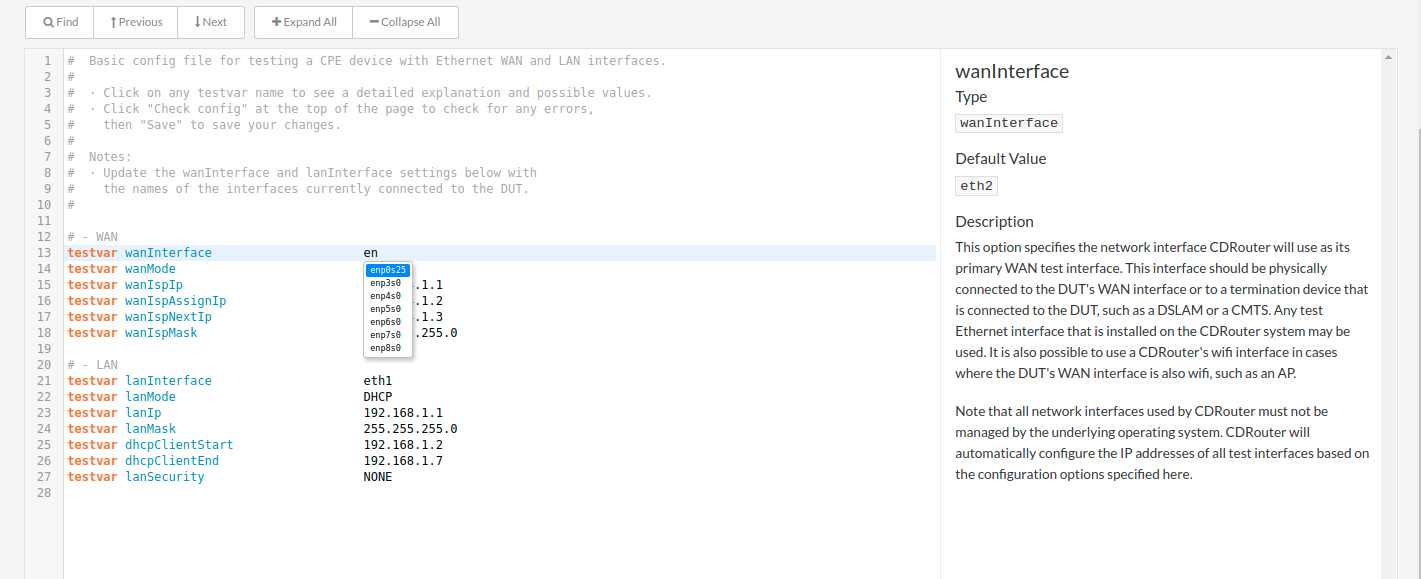
Running your first demo test
-
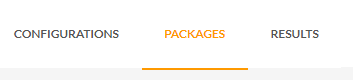
To start your first test run, click on the Packages tab. You’ll see a set of default packages you can run right away.
-
If you click on the package name, you’ll see that it has an associated configuration, and a list of test cases that the package will run.
-
To start the test, click
 . A pop-up window will appear.
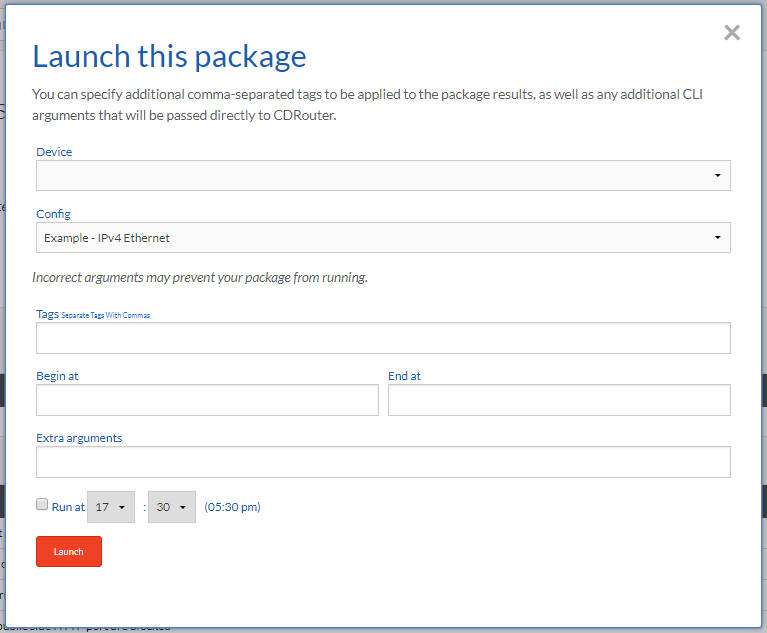
-
From here you can associate the test with a device in CDRouter’s device database, which lets you correlate results with specific devices and firmware under test. You can also add tags to your test run for easy organization, or schedule the test to run at a later time.
-
When you’re ready, click the
 button.
Viewing real-time results and analyzing final results
-
The first test that runs is CDRouter’s start procedure. If this fails for any reason, make sure to contact support.
-
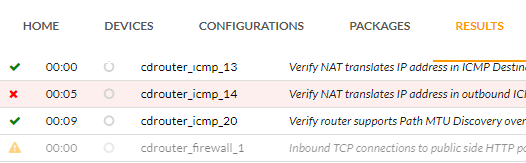
Click on the results tab. When a test completes, you will see either a green checkmark for success, a red x for failure, or a yellow warning if the test was skipped for configuration reasons. While a test is running, you can view the results in real time, and even view the logs while the test is running.
-
When the package is complete, you can do in depth analysis with your team using the log viewer. You can view complete protocol conversations here, and add annotations to particular lines to share with your colleagues. You can also filter down the log for easier analysis.

-
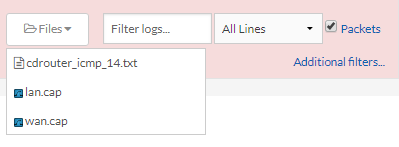
If you want to view the raw packet data, click on the Files button to view the LAN and WAN packet capture files. These will open in your browser where you can analyze here or upload them to a CloudShark system. You can also export the log as a text file.
-
Returning to the result page, you can export your results by clicking
 . This is useful when submitting questions to CDRouter support or when sending results to another CDRouter system, where they can be imported.
 -
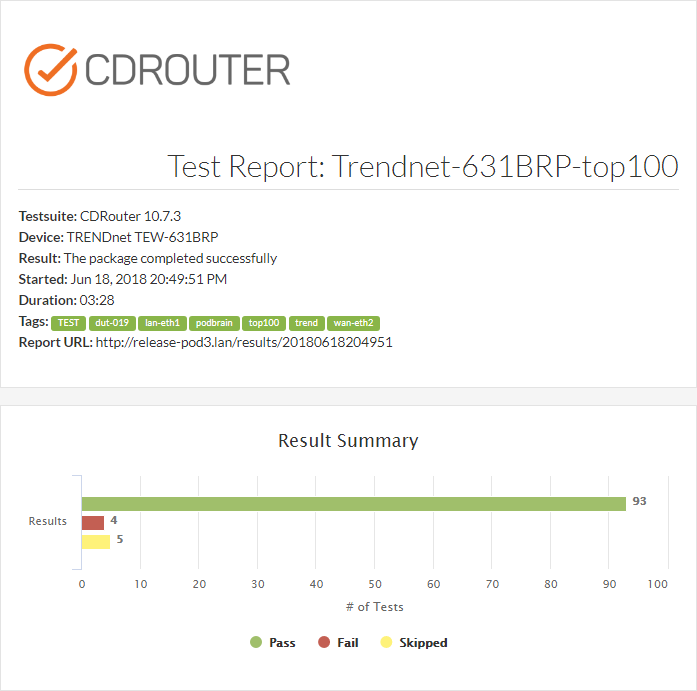
If you want an overview that you can deliver to your management or customers, click on

-
Always remember that every single result, log, or view in CDRouter can be easily shared by copying the URL in your browser!
-
Lastly, you can use CDRouter’s visualize tools to get a high level look at the results, or to see trends for a particular test package, which can help isolate problem areas.
Building your own test run
Now that you’ve tried some of our demo test packages, you may want to try building your own.
Every test run in CDRouter is comprised of a configuration, a package, and a set of results. These can be tagged and organized and assigned to a specific device under test in the CDRouter device manager.
Building a configuration
-
To start your first test run, begin by making a new configuration. Click on the configuration tab. Here you’ll see a list of all the existing configs and the tags associated with them.
-
To make a new configuration, click on New.
-
A CDRouter configuration is a list of test variables, or testvars. All of our testvars are described in detail on our support website. The most important variables for your demo tests are the WAN and LAN settings, which are found in the base configuration.
-
You can expand and collapse each set of configuration variables to more easily navigate. You can also search for a specific variable by typing CTRL-F.
-
For most tests in your CDRouter demo, the default configuration will work. This sets the WAN connection type to DHCP and includes some other assumptions. To change the default settings, remove the hash mark from the testvar.
-
To set up your first test, open the WAN section of the configuration. Here you can set what the expected WAN connection mode and settings will be, and also choose which interface to use for the WAN. The different WAN modes each have their own configuration section below.
-
For the LAN, you can also specify the test interface. You can then configure the IP settings for hosts that CDRouter will simulate - making sure these match the environment your DUT will present.
-
If you want to do wireless testing, choose one of your system’s wireless interfaces such as wlan0. Then use the 802.11 section to set the SSID and security settings that your DUT will use.
-
If you are using any of CDRouter’s expansions like TR-069 or IPv6, additional settings are contained in the config.
-
When you’re finished, give your configuration a name and assign any tags, then click “Check Config” to make sure there’s no bad settings. Click save to create the configuration.
Building a test package
Next we’ll build a test package. A test package consists of a set of tests that you want to run, plus some run-time options.
-
To select tests, browse through the selection boxes. To add tests, either double click on an entire module to add all tests, or select and add individual tests.
-
When the tests appear in the test list below, you can drag and move them to change the order of execution.
-
When you’ve chosen your tests, click “edit options”. This lets you set whether to pause between tests, how many times to loop tests, and how to handle retries and failures. When you’re done, give the package a name, and assign a configuration to it. You can also assign the package to a particular device in CDRouter’s device manager.
-
Add any tags you want for the package, and click “create”.
-
Follow the steps above to start your test and view the results.
We hope you enjoy your demo of CDRouter, the industry standard in broadband connected device testing. If you have any questions, don’t hesitate to email our award winning support team at support@qacafe.com.