Advanced Accessory Pack
Overview
The NTA3000 hardware platform is QA Cafe’s most advanced network test appliance, providing significant upgrades over previous systems. In addition to the system itself, QA Cafe also offers the Advanced Accessory Pack. The Advanced Accessory Pack further improves the testing experience and consists of the following elements:
- Synaccess SynLink PDU
- Magnetic Antenna Bases
- Sliding Rack Rails
For pricing and other information, please contact sales@qacafe.com.
Synaccess SynLink PDU
The Synaccess SynLink PDU is a 1U rack mountable power distribution unit that provides remote programmatic control of its outlets. A device under test (DUT) that is plugged into this system can be powered on and off through various means, including a simple script included with CDRouter. This allows a DUT to be powered on or rebooted at the start of a test run and powered off at the end of a test run, for example.


See the Synaccess SynLink PDU for more information.
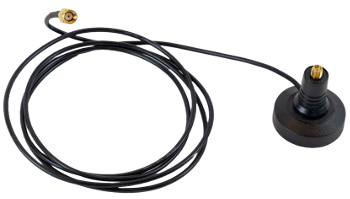
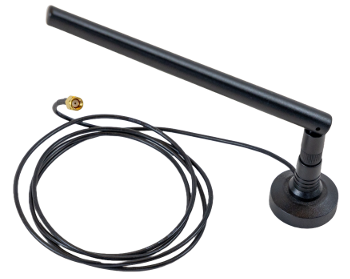
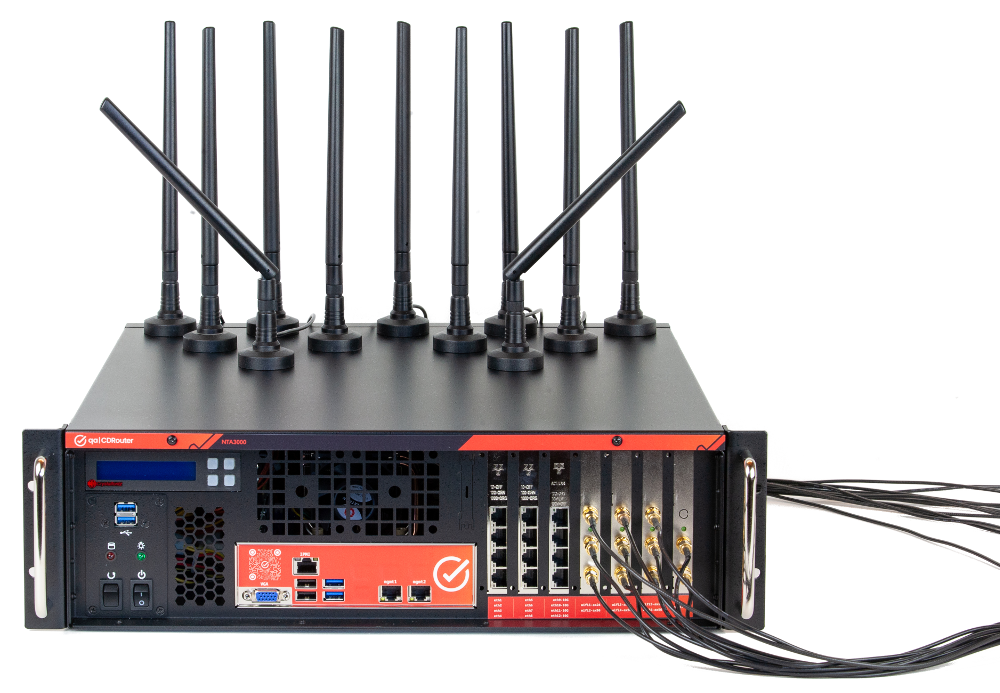
Magnetic Antenna Bases
The NTA3000 has all ethernet and Wi-Fi antenna connections on the front of the chassis, making it convenient to make changes. The 11 RP-SMA antenna connections all require a tri-band antenna (included with all NTA3000 systems) to operate correctly. These antennas can be screwed into the RP-SMA connections directly. However, it can sometimes be more convenient to locate the antennas away from the NTA3000 as well as from each other. This can be accomplished by using the magnetic antenna bases. These are 5 foot long coax cables with an RP-SMA connector on one end and a magnetic base on the other. The antenna connects to the magnetic base, which also has an RP-SMA connector. The base can sit on a flat surface or be attached to a metal object, such as an equipment rack or even the NTA3000 chassis itself. This allows much more flexibility with antenna placement.
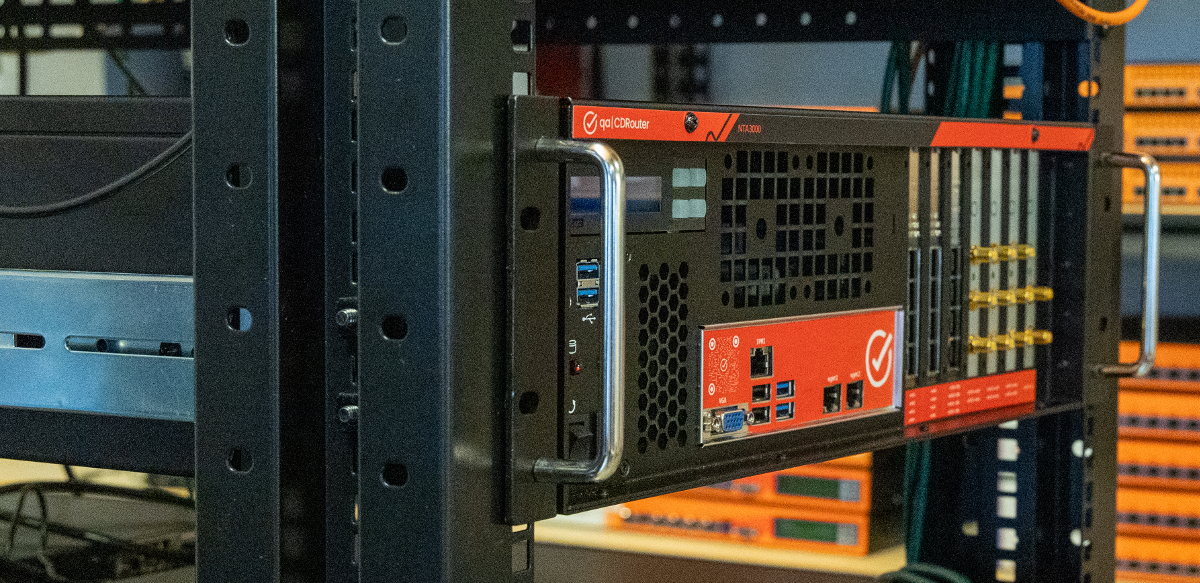
Sliding Rack Rails
The NTA3000 is a 3U (rack unit) chassis, which can be placed on a desk or table as well as installed into a standard 19" equipment rack. If placed on a table, it’s a good idea to apply the four included rubber feet onto the bottom of the chassis to avoid scratching the table. If rack mounting is desired, the rack rail kit can be used. Installation instructions are as follows:
- Both slide assemblies are identical; there is no left/right.
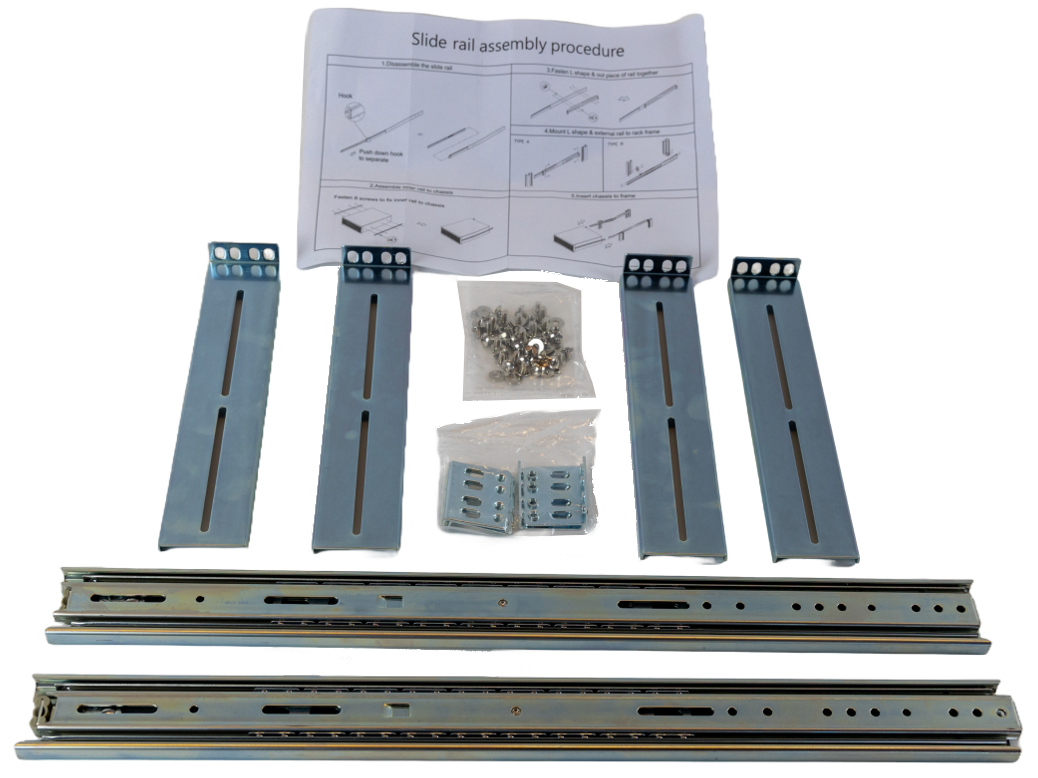
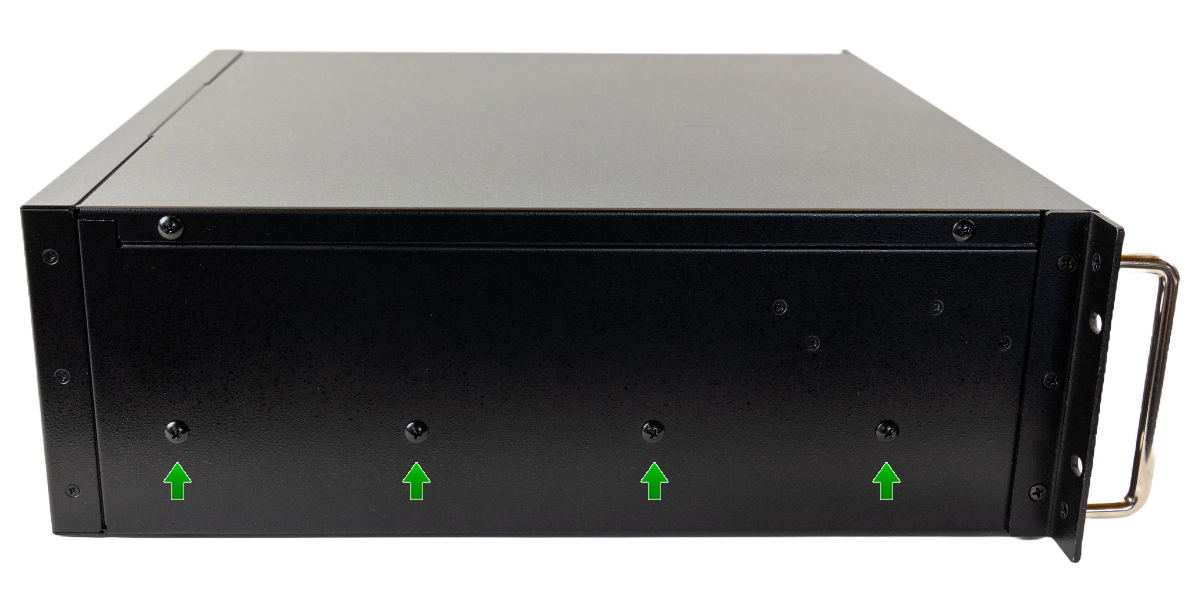
- Remove four screws from the left and right side of the chassis. Save these.
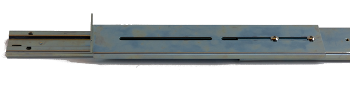
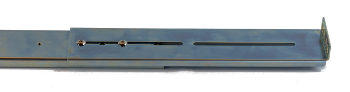
- Remove the inner rail sections from the slide rail assemblies. Push down on the hook to release.

- Align the inner rail as shown, so that the front most screw hole in the inner rail aligns with the front most screw hole in the chassis. Using the original screws removed from the chassis, install a screw here and in the two other places where inner rail screw holes line up with the chassis screw holes. Only three screws are used per side.
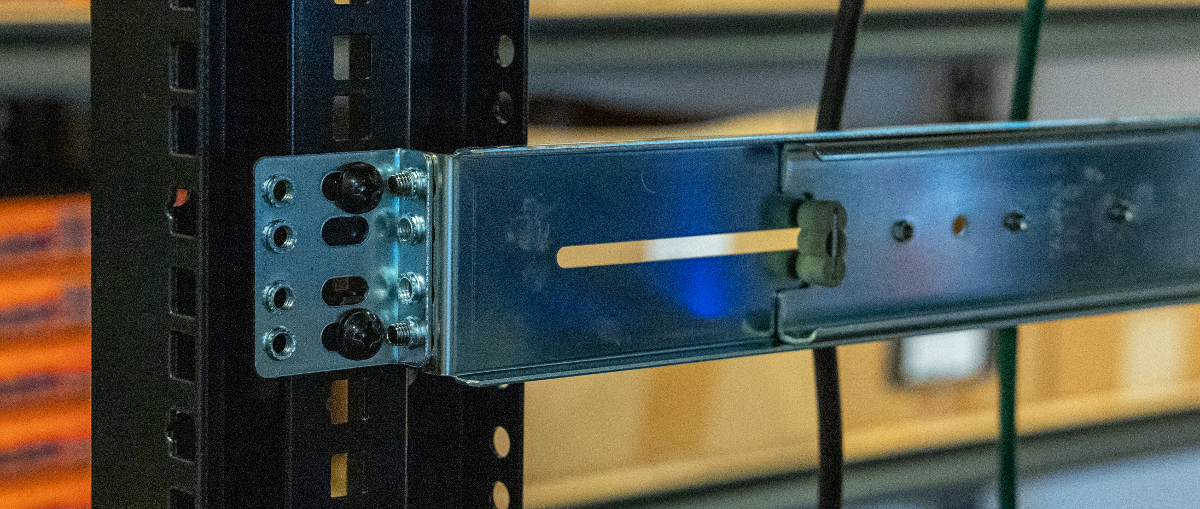
- Fasten a large L-bracket to each end of the outer rails as shown, using provided screws.
The screw holes in the outer rail are threaded, so no nuts are required. Measure the depth of your rack to determine which screw holes in the outer rail to use. Maximum rack depth is just over 32". Be sure to use two screws for each large L-bracket. Don’t tighten the screws fully yet. Determine the rack unit into which the rails will be installed. Install cage nuts if required. Finally, install an outer rail assembly on each side of the rack. Once secured to the rack, tighten the screws joining the large L-brackets to the outer rails.
If your rack is deeper than 32", you can extend the reach of the outer rails by another couple inches by using the small L-brackets as shown. This approach requires your rack to have appropriate alternate mounting holes
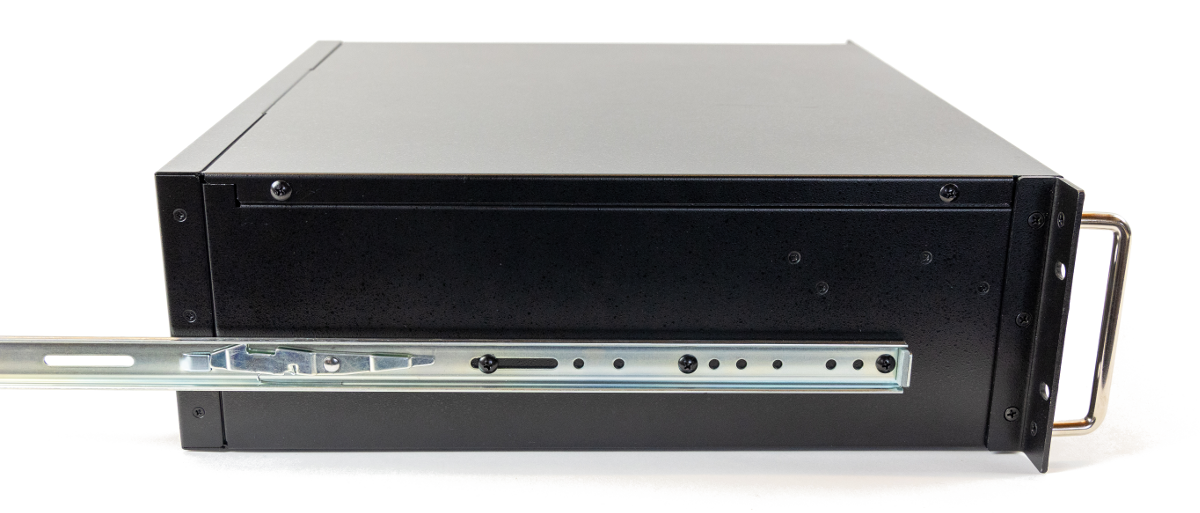
- Pull the sliding part of the outer rails forward.
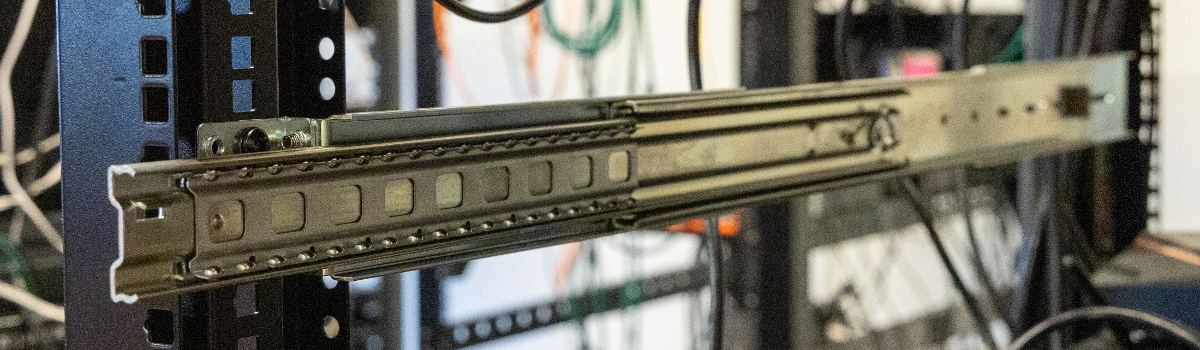
Holding the NTA3000 chassis level, carefully line up the inner rails with the outer rails and slide it fully into the rack.

To remove the chassis from the rack, pull it forward until it stops. Push the hook release on both inner rails (one side up, the other side down) to allow the chassis to slide fully out the rack.