Advanced Wi-Fi 7 Module
Overview
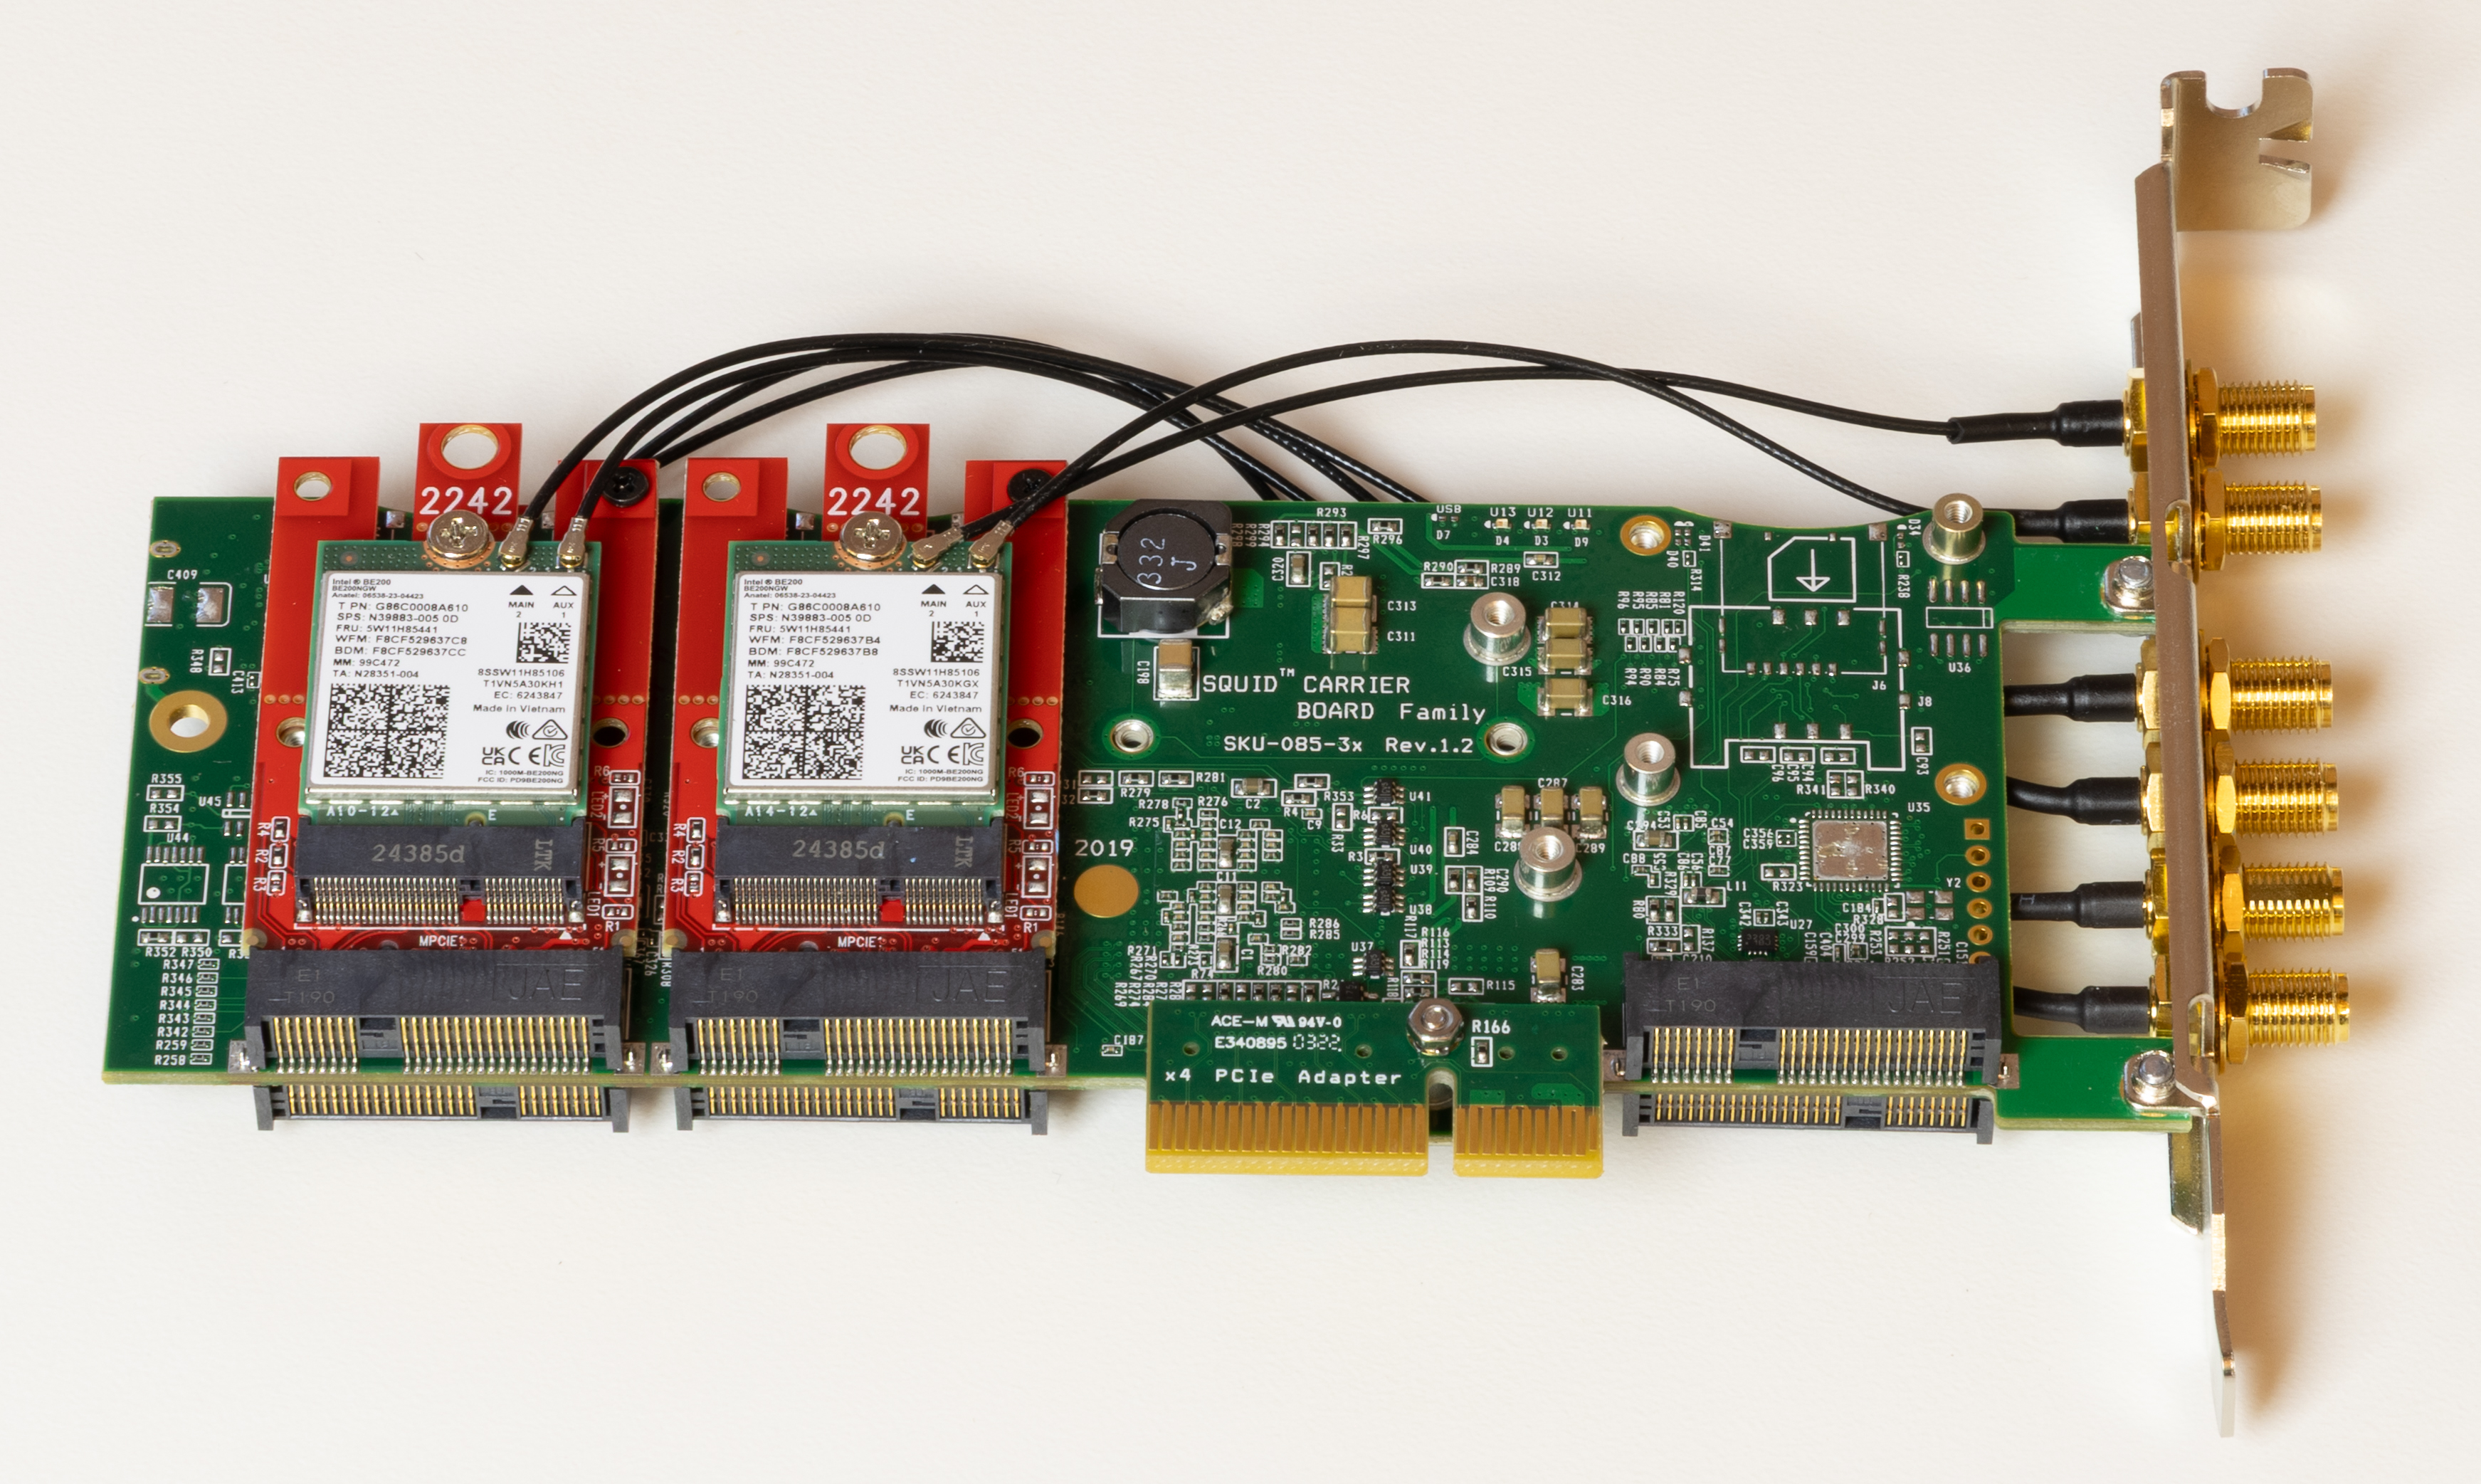
The NTA3000 hardware platform is QA Cafe’s most advanced network test appliance, providing significant upgrades over previous systems. QA Cafe now offers the Advanced Wi-Fi 7 Module (AW7M), a hardware upgrade that adds three independent Wi-Fi 7 (802.11be) radios to the NTA3000 for expanded / higher-throughput Wi-Fi testing.
 |
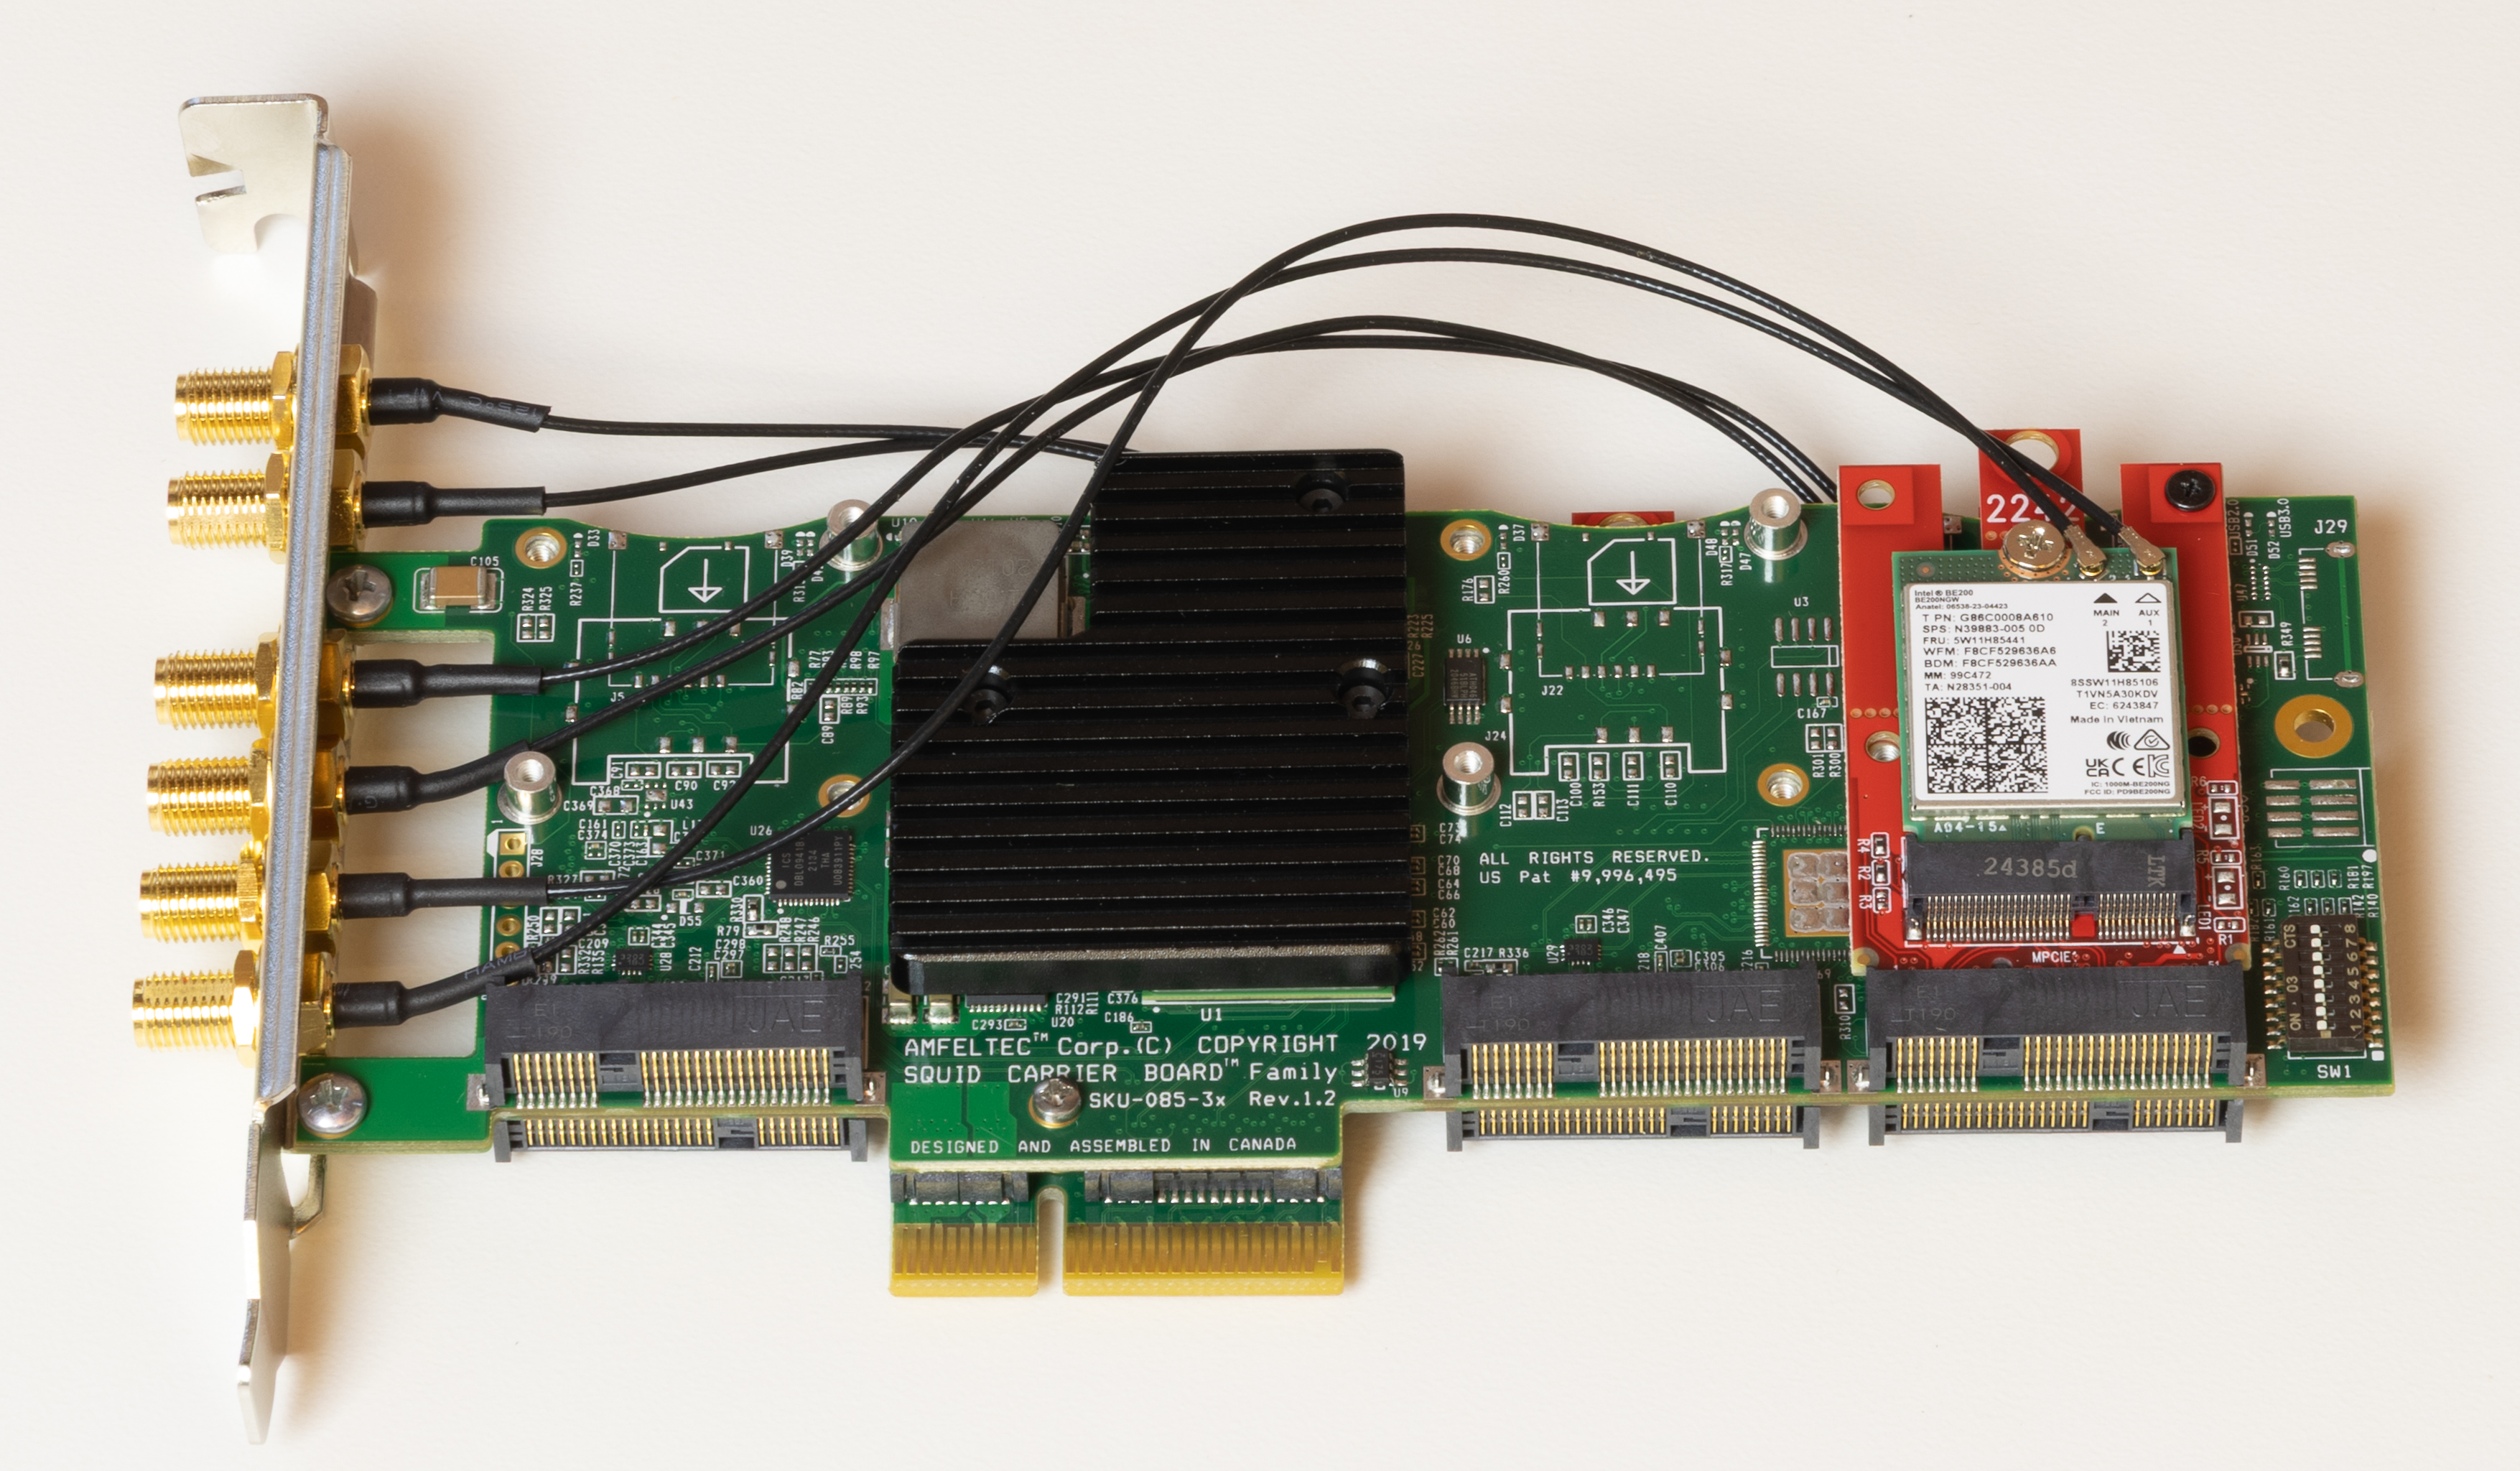 |
The AW7M can be added to an NTA3000 at the time of initial purchase, in which case QA Cafe installs it prior to shipping, or purchased separately and installed in the field by the end user. Field installation instructions are provided below.
For full radio specifications, see the NTA3000 data sheet.
For pricing and other information, please contact sales@qacafe.com.
Note: If your AW7M was included with your NTA3000 at the time of purchase, it has already been installed by QA Cafe and you can skip this procedure. The following steps are only needed if you purchased the AW7M separately for field installation into an existing NTA3000.
Installation Instructions
Installing your new AW7M is straightforward.
In the Box
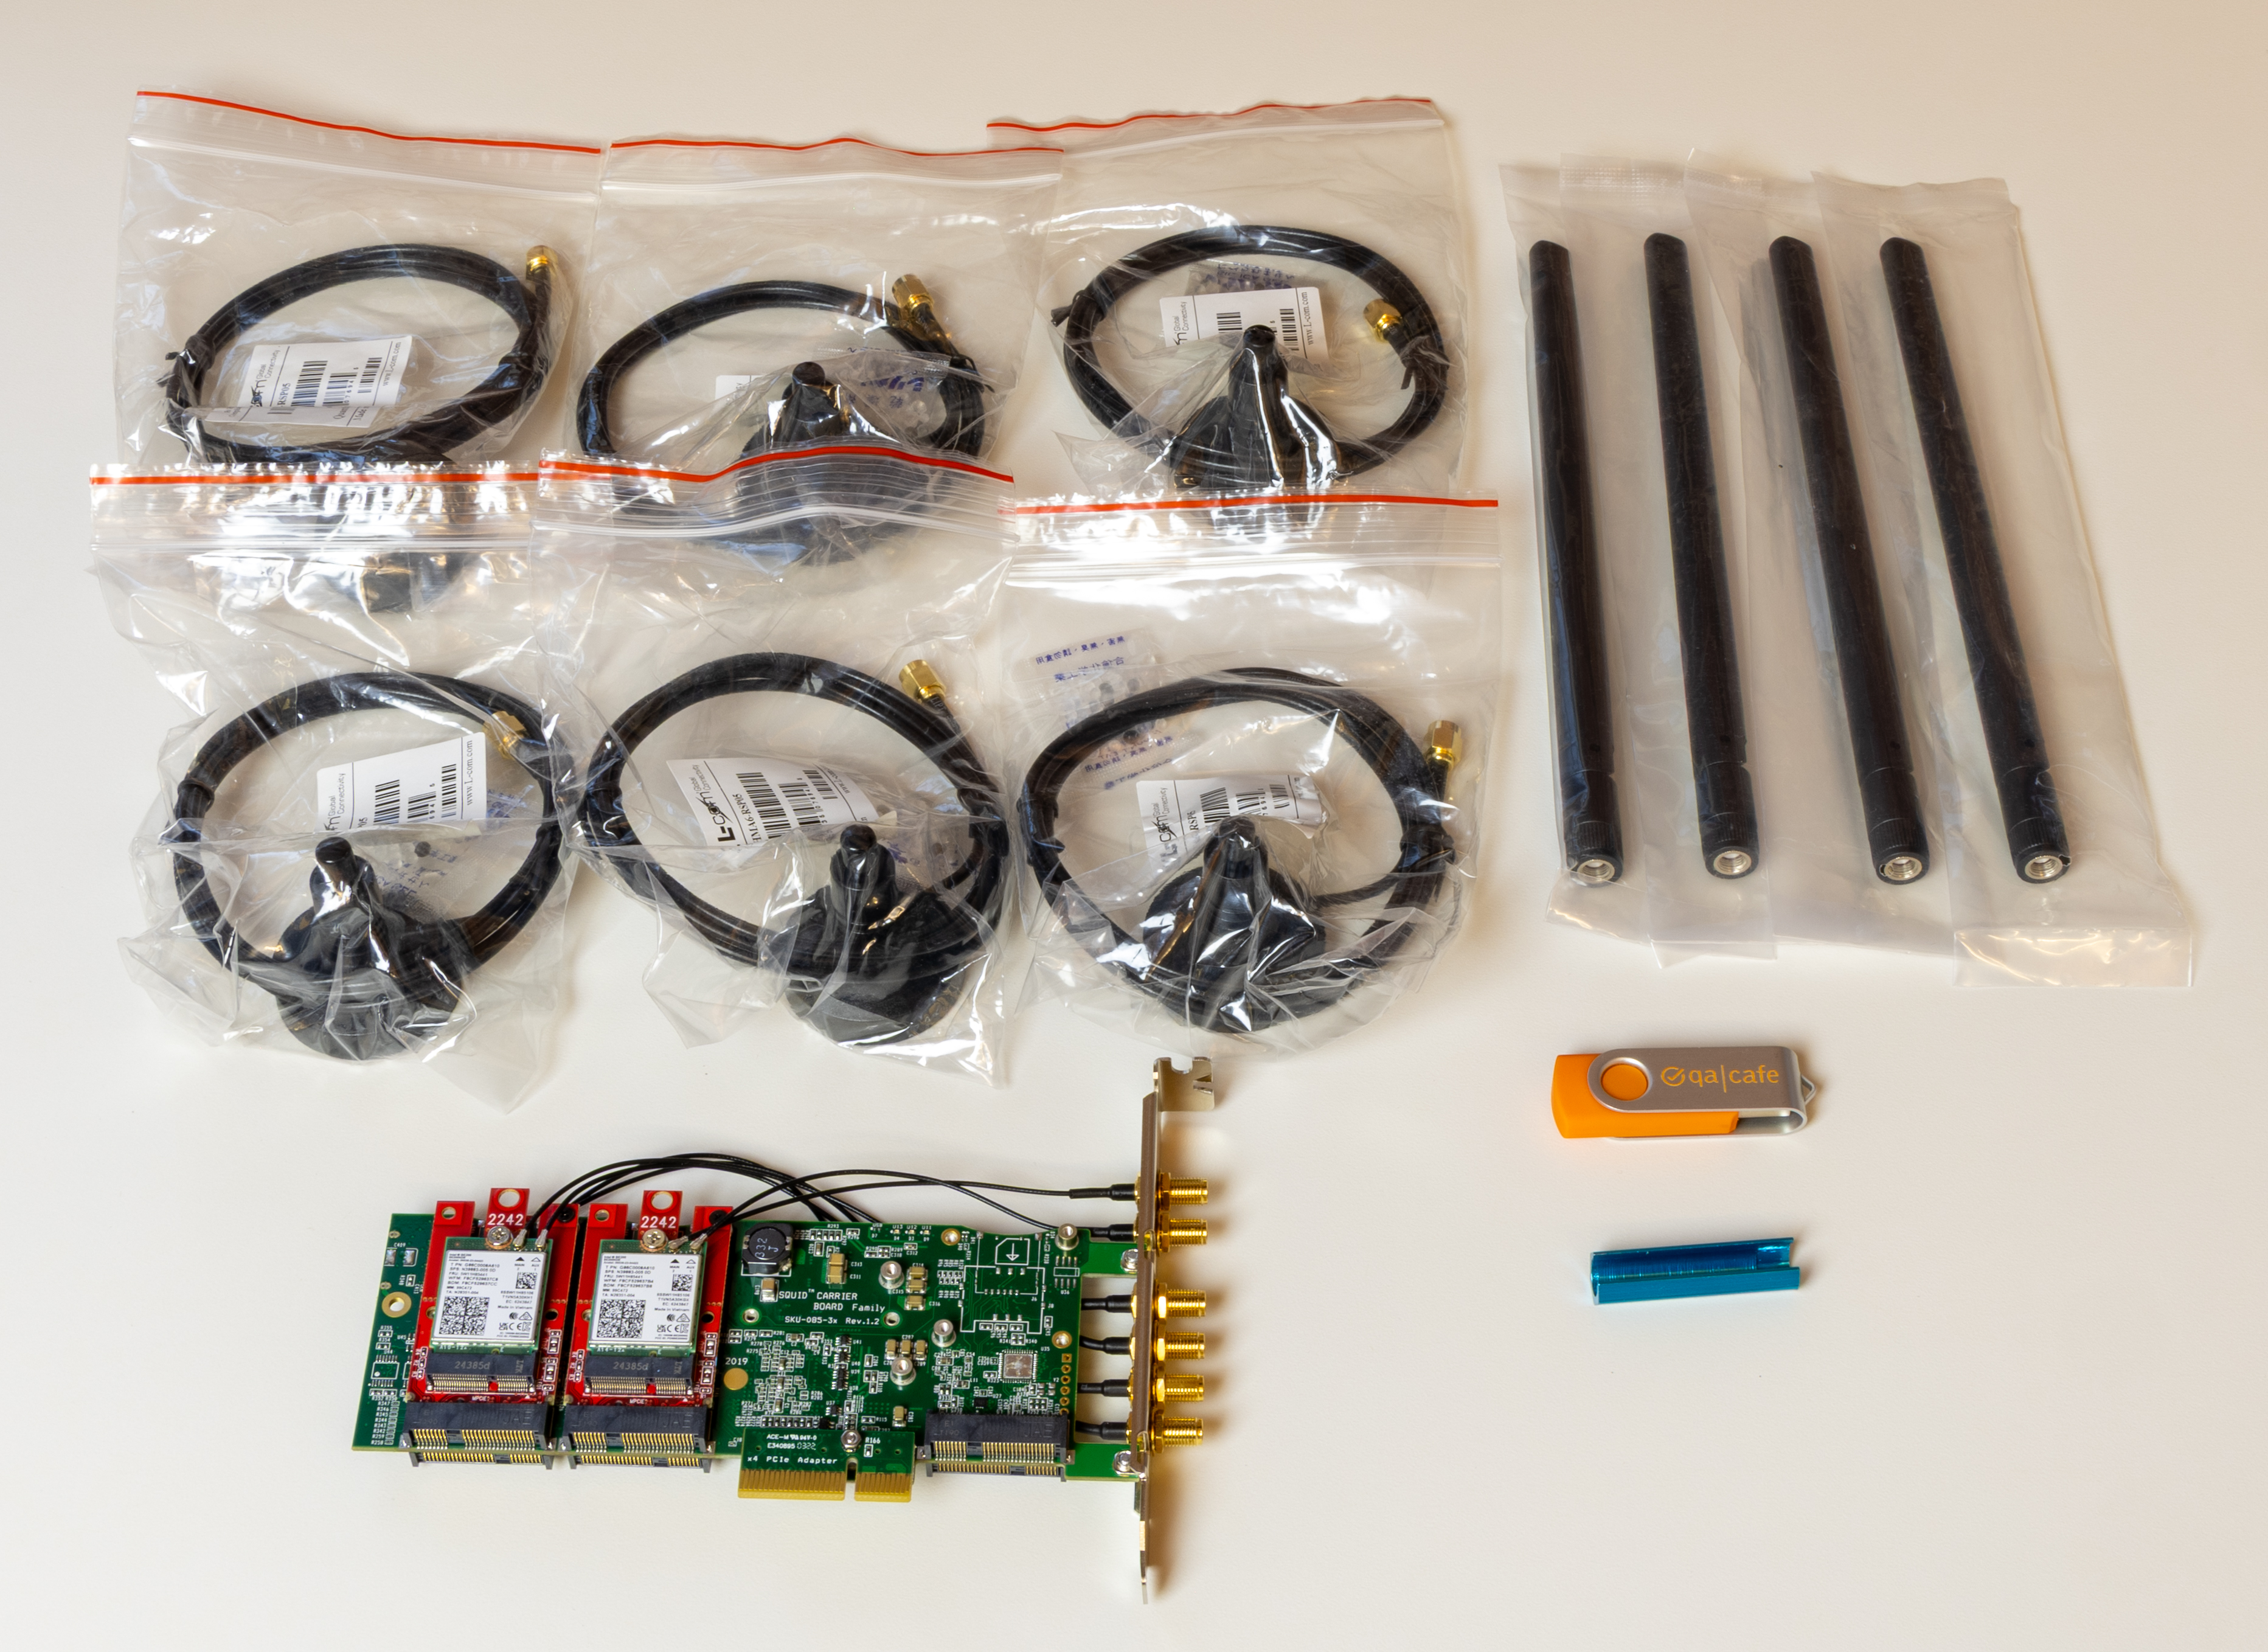
- AW7M
- Tri-band antennas
- Magnetic antenna mounts
- USB stick with 9.6.1 Golden Image
- SMA finger wrench
Tools Required
The only tool you’ll need is a standard #2 Phillips screwdriver.
Steps
1. System Inventory
You’ll need to know the current version of the Golden Image as well as CDRouter.
These version numbers can be found in multiple ways. Use whichever method is more convenient.
- Front panel LCD: Using any of the four blue buttons next to the LCD, scroll through the different screens until you see one for “Image Version” and one for “CDRouter Version”.
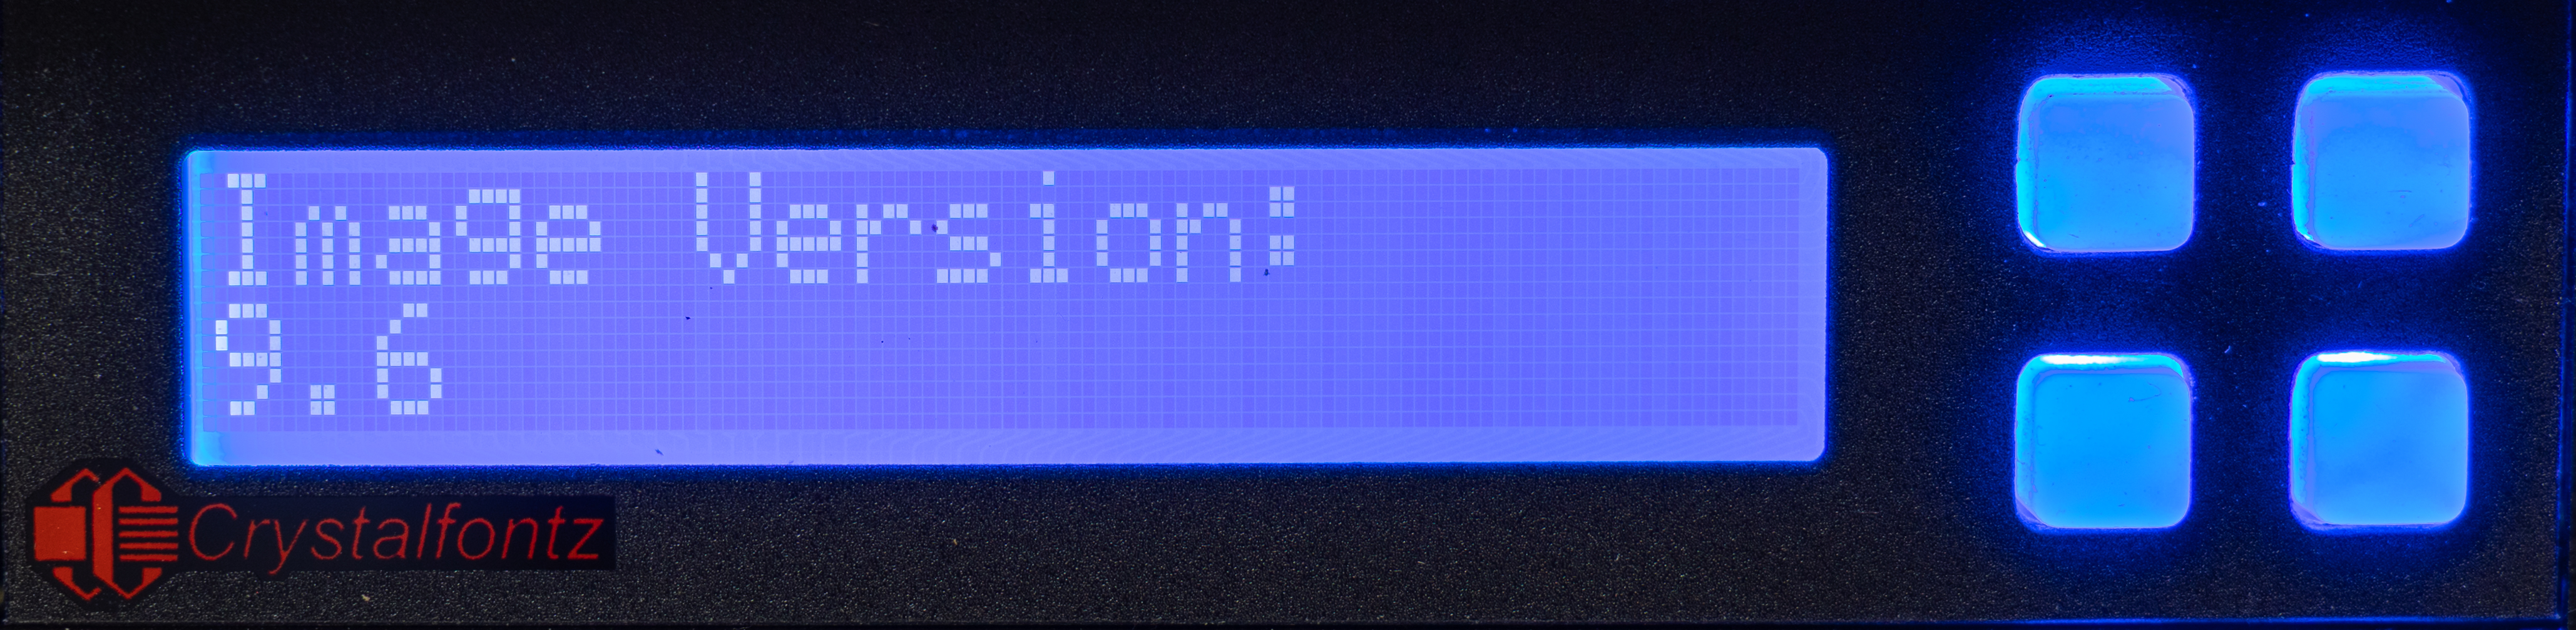 |
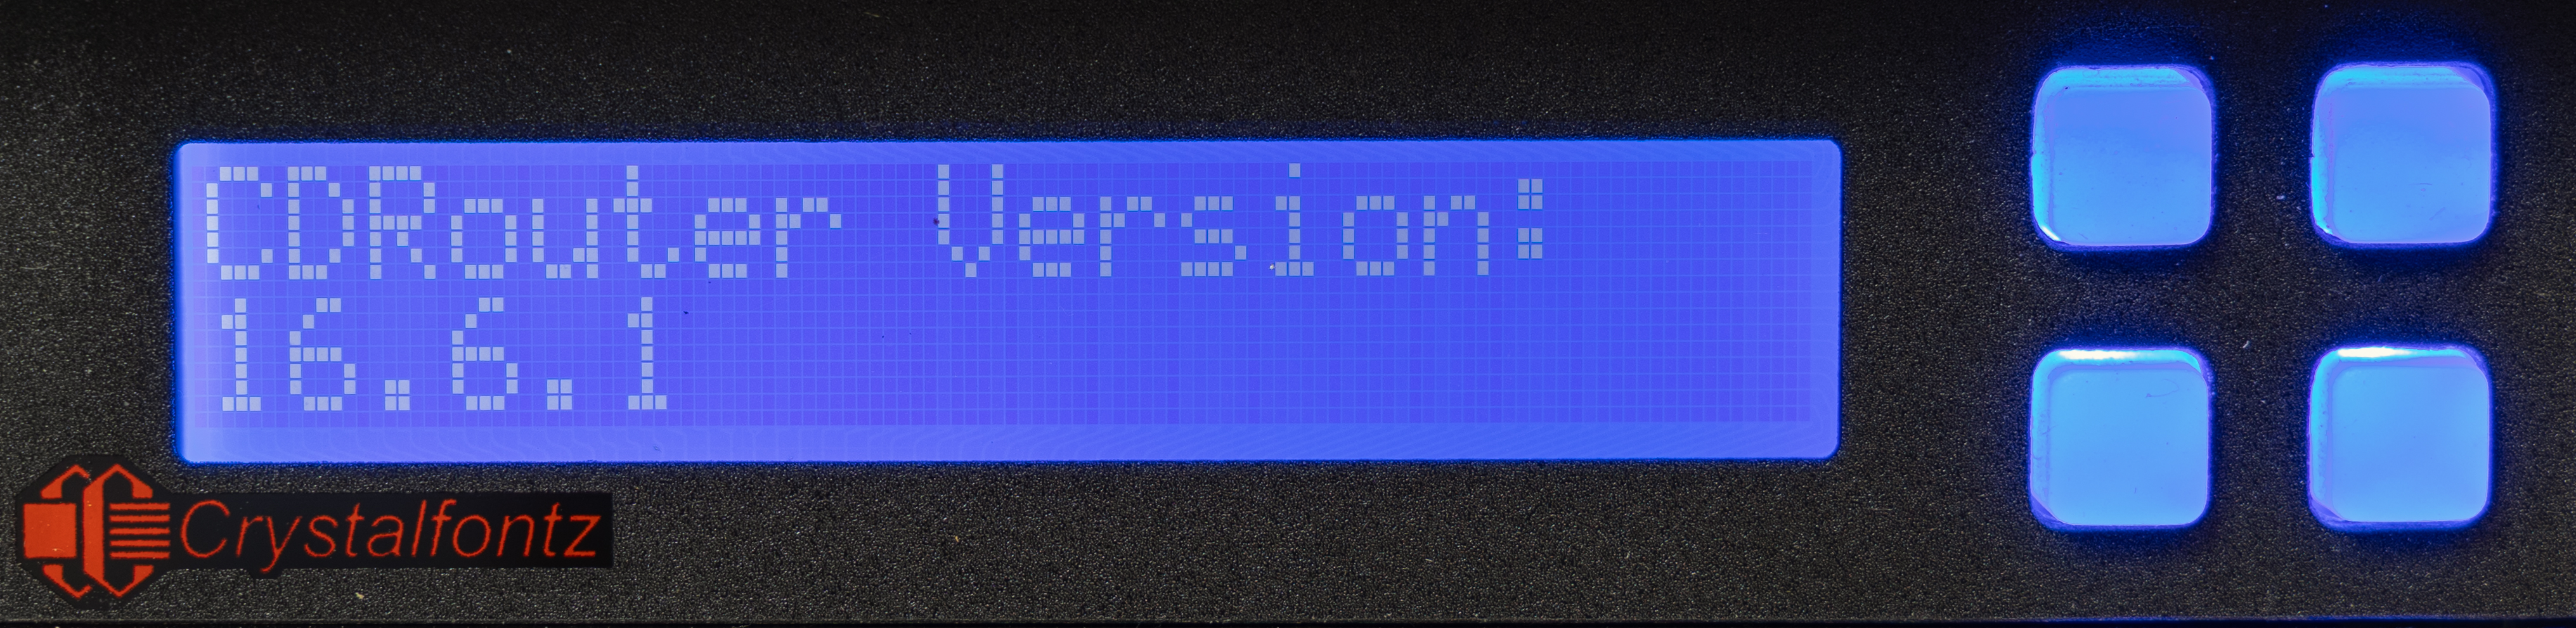 |
- CDRouter Web UI: On the top right, under your login name, select SYSTEM. This will display the CDRouter version at the top of the page. Click the “Show cdrouter-cli -info” button. This will report many system parameters. Near the bottom, look for “NTA image”. This is the Golden Image version.
Using either method, make a note of both of these version numbers. This information will determine how to proceed in the following steps.
2. Install AW7M
Power down the NTA3000 by opening a terminal window as the root user and typing the following command:
poweroff
Once the system has powered down, disconnect the power cable.
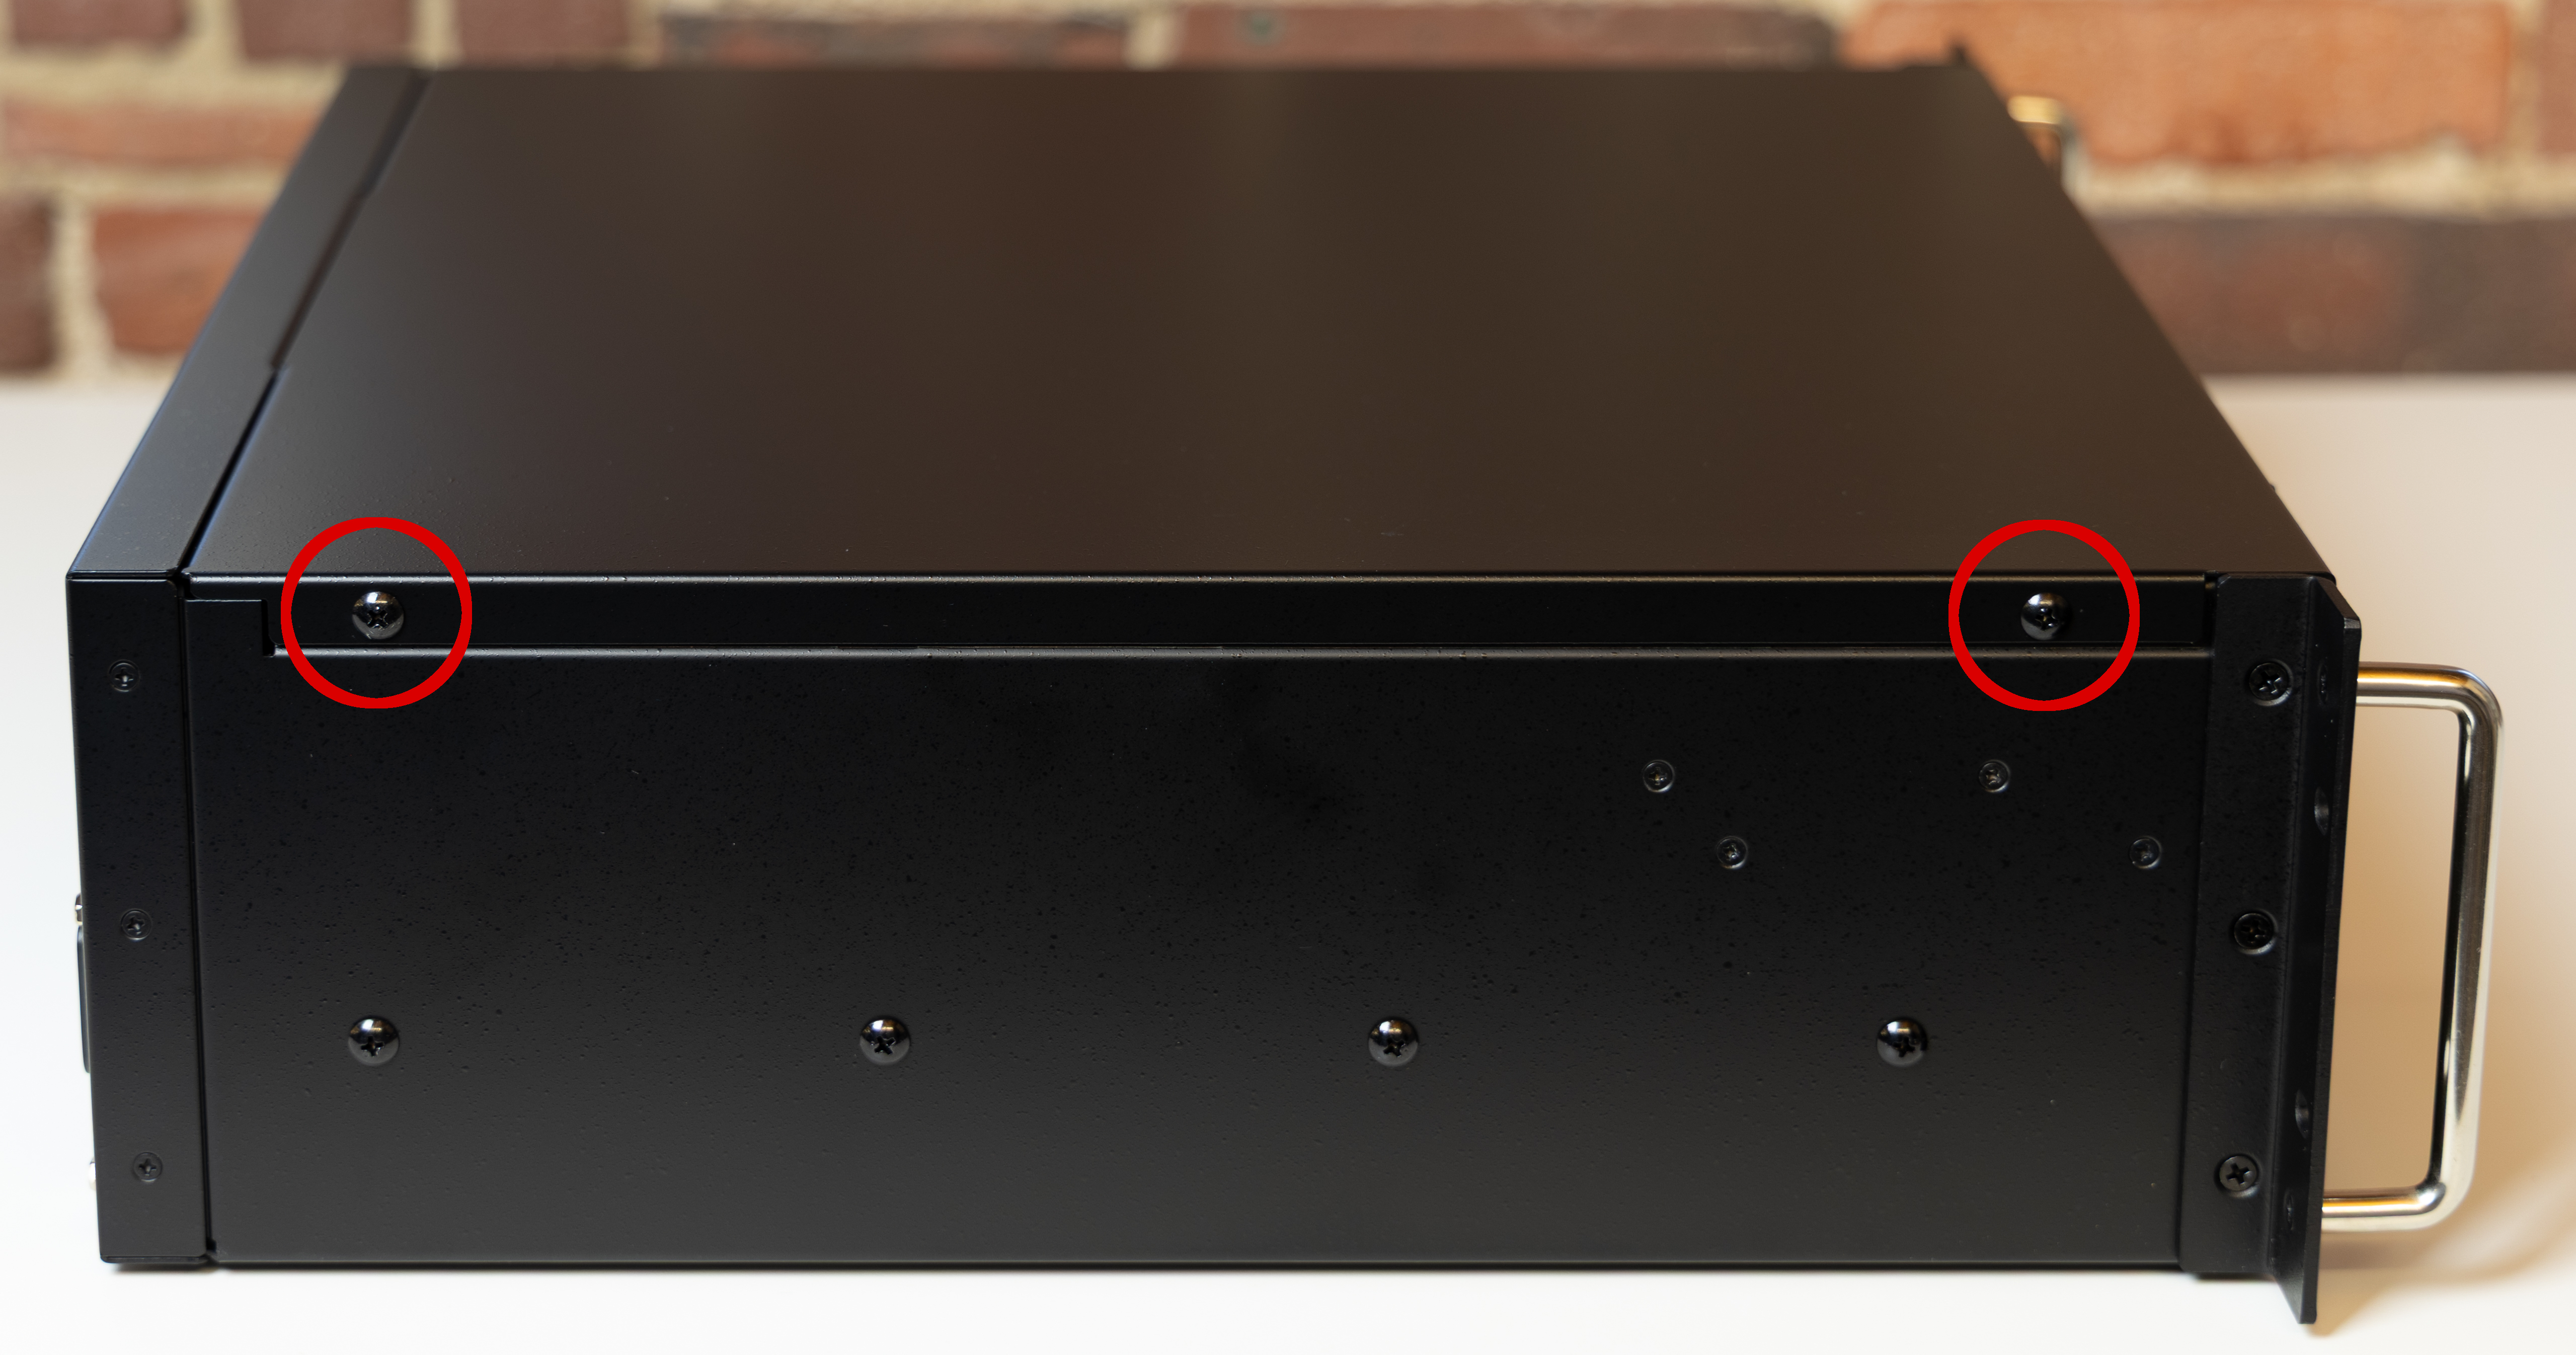
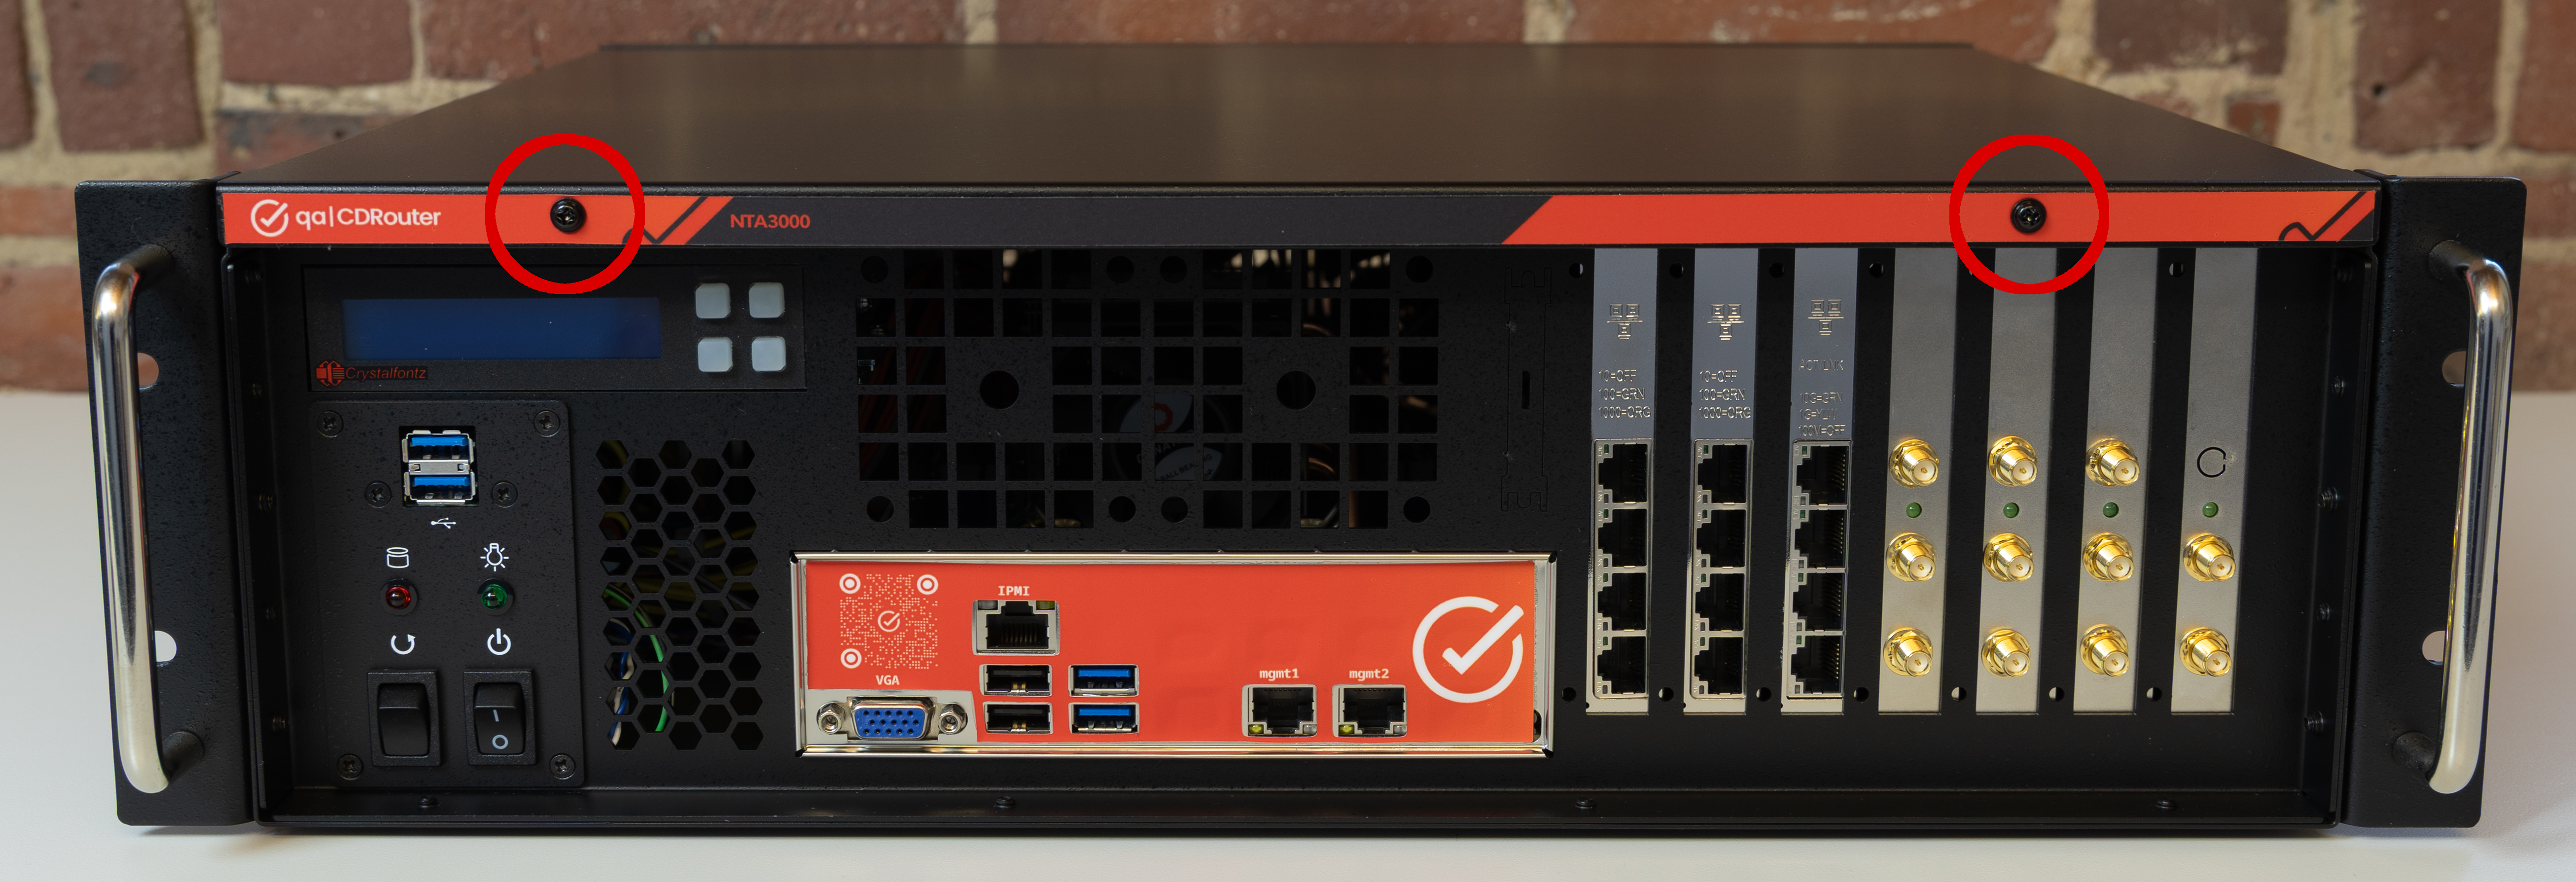
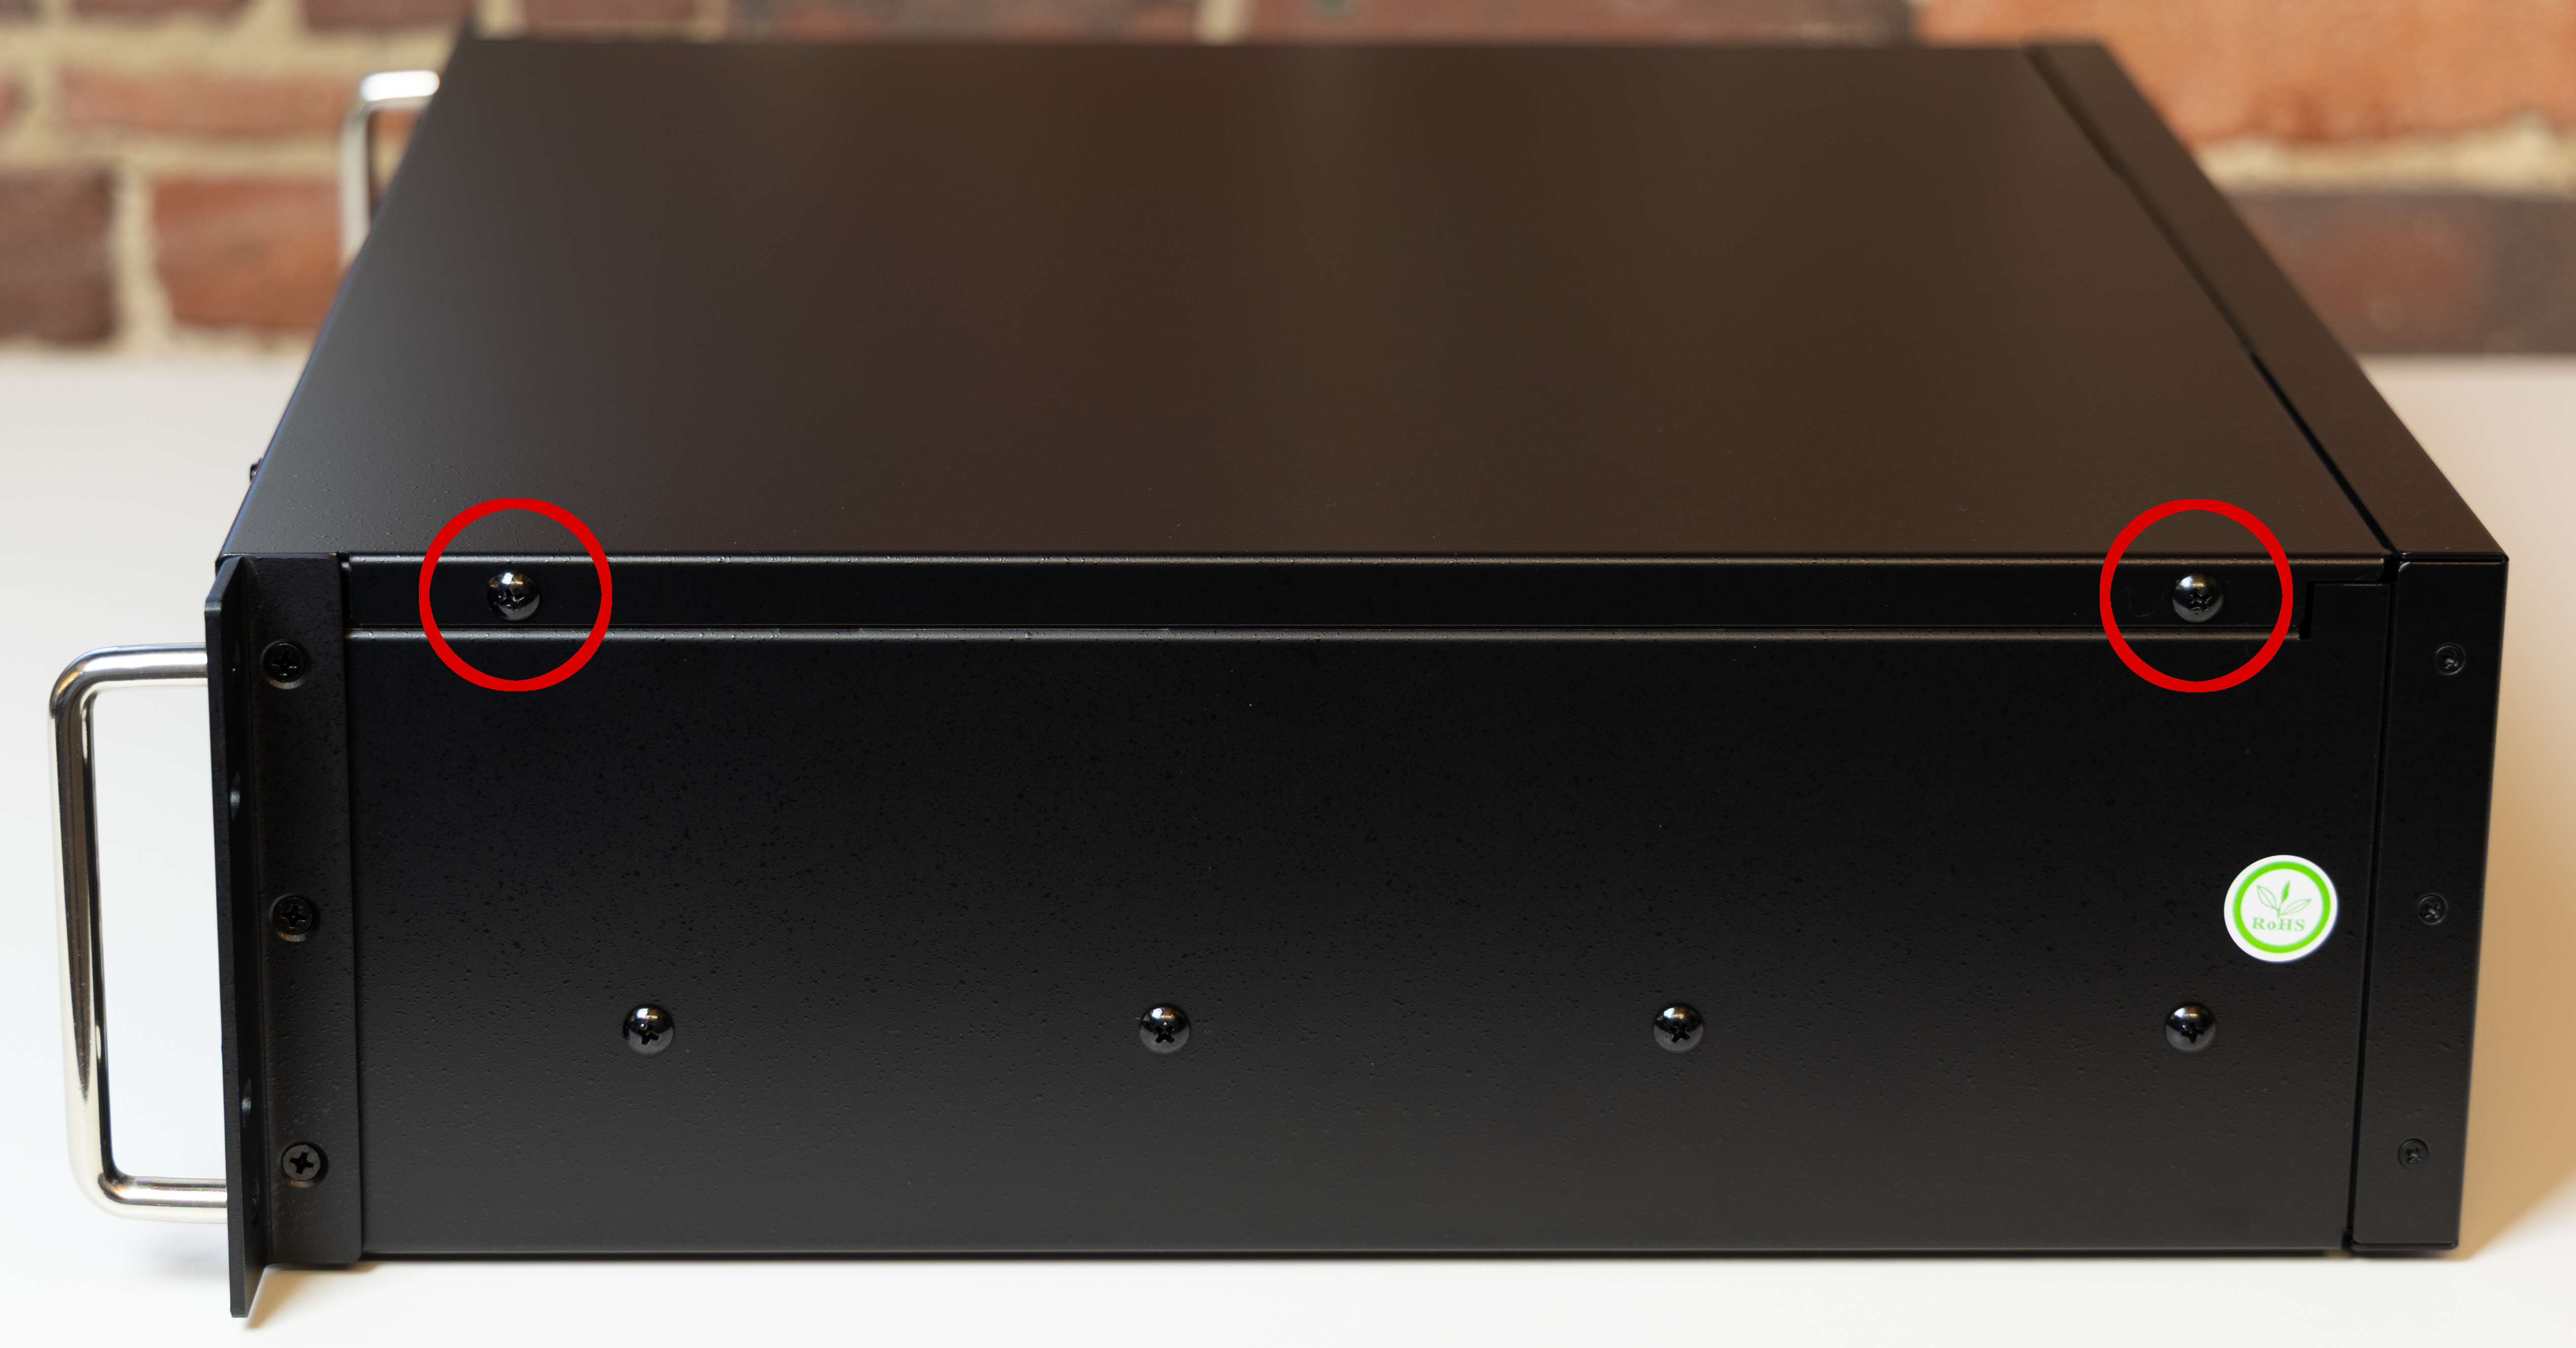
Remove the chassis cover by removing 6 screws (two on each side and two on the front), then lift the front of the cover and slide it out. Note the two screws on the front are smaller than those on the sides.
 |
 |
 |
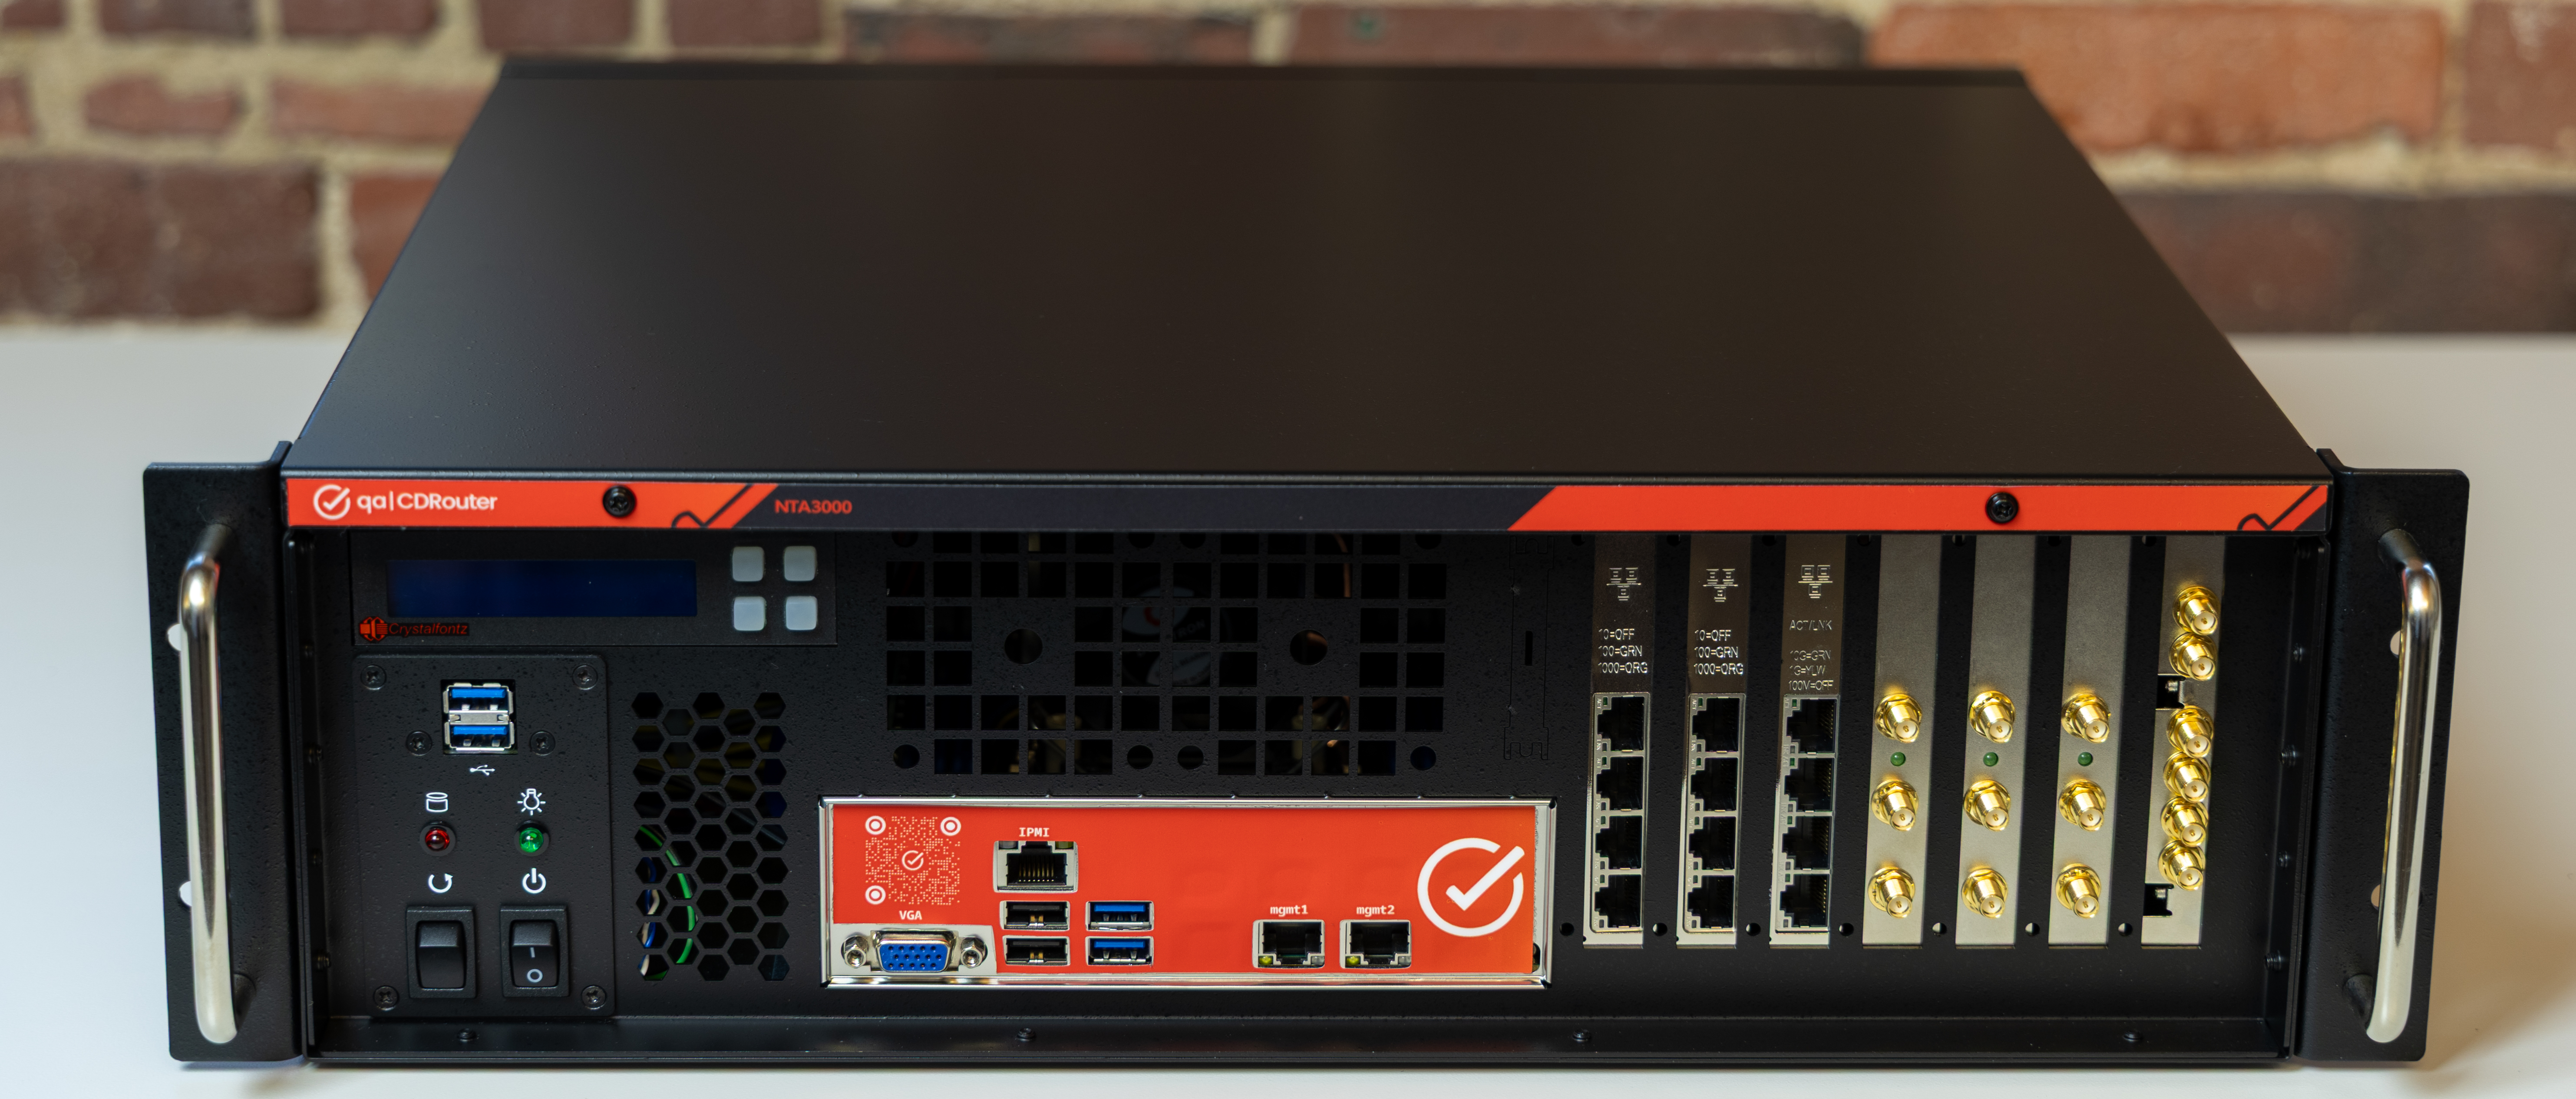
The AW7M will be installed into slot G. This is the right-most slot as you face the front of the NTA3000.
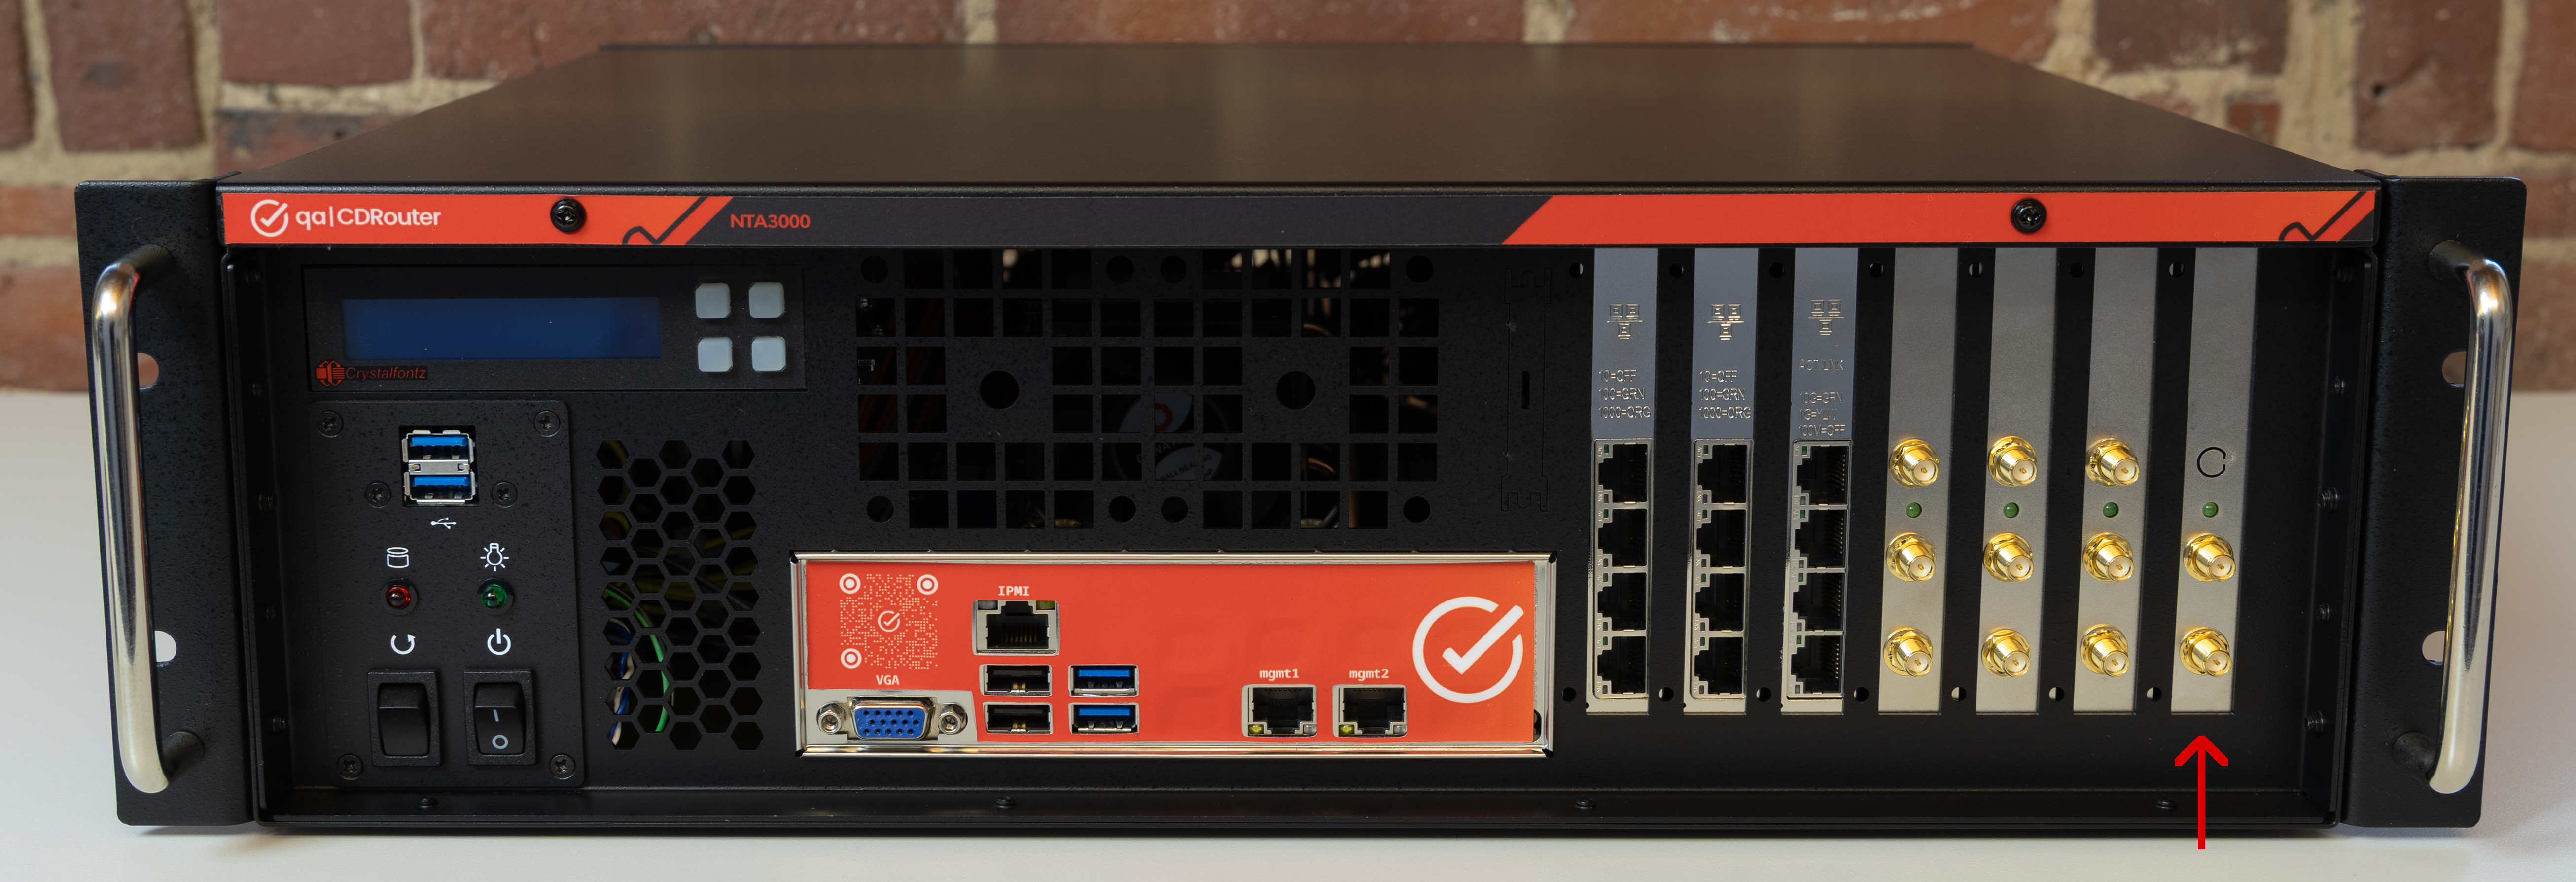
Remove any antennas or magnetic bases connected to the RP-SMA connectors on the card in slot G. Remove the screw securing the card currently installed in that slot. Gently remove the card and set it aside.
Carefully align and fully seat the AW7M module into the empty slot, securing it with the screw.
Reinstall the chassis cover by inserting the back first, then lowering the front and securing with the six screws.
It’s a good idea to place the old Wi-Fi 7 card into the same static bag the new AW7M arrived in and store it in a safe place.
3. Configure System
- If your NTA3000 is running a Golden Image older than version 9.6.1, proceed to Step 3A.
- If your NTA3000 is running a Golden Image version 9.6.1 or newer, proceed to Step 3B.
3A. Update the Golden Image
Refer to this article for instructions on upgrading the Golden Image: Update/Rebuild NTA3000 System Drive. For convenience, a USB drive with the latest Golden Image was included in the box with the AW7M. This lets you begin at Step3: Boot the NTA3000 from the USB drive.
Insert the USB stick into any available USB port on the front of the NTA3000, plug in the power cord, and boot the system. Follow the instructions in the article.
Once the Golden Image has been installed and the system has booted normally (with the USB stick removed), you’ll need to install CDRouter. Make sure you install CDRouter 16.7 or newer. Refer to this article for instructions on installing CDRouter: CDRouter Installation and Upgrade Guide.
Jump to Step 4.
3B. Name the new Wi-Fi 7 interfaces
Plug in the power cord and boot your NTA3000.
Since the 9.6.1 (or newer) Golden Image was already installed on your NTA3000 when the AW7M was installed, the system now needs to discover the new Wi-Fi 7 interfaces and give them meaningful names. Open a terminal window as the root user and run the following command to configure the new network interfaces:
/usr/share/nta/bin/configure_network_interfaces.py
This command takes about 20 seconds to complete. You will be prompted to reboot for the changes to take effect. Go ahead and reboot now.
If you are running a version of CDRouter older than 16.7, you’ll need to update that now. Refer to this article for instructions on installing CDRouter: CDRouter Installation and Upgrade Guide.
4. Verify Installation
In the CDRouter Web UI, on the top right, under your login name, select SYSTEM. Click the “Show cdrouter-cli -info” button.
Look for the three Wi-Fi 7 interfaces:
Wireless: wifi7-be 2.4/5/6GHz max-clients=1 (iwlwifi:94.62990553.0 gl-c0-fm-c0-94.uc)
Wireless: wifi8-be 2.4/5/6GHz max-clients=1 (iwlwifi:94.62990553.0 gl-c0-fm-c0-94.uc)
Wireless: wifi9-be 2.4/5/6GHz max-clients=1 (iwlwifi:94.62990553.0 gl-c0-fm-c0-94.uc)
Setup
Some things to keep in mind with your new hardware configuration.
Interface Names
The AW7M replaces the previously installed Wi-Fi 7 interface (wifi7-be) with a new identical Wi-Fi-7 interface (also called wifi7-be) and adds two new Wi-Fi 7 interfaces to the NTA3000 (wifi8-be and wifi9-be).
Independent Interfaces
All three AW7M interfaces are fully independent — each radio can be configured, associated, and driven separately, with no shared state or contention between them. This allows simultaneous/parallel testing across bands or three independent DUT associations at once.
Antenna Connections
Each AW7M interface has its own set of RP-SMA antenna connectors on the front of the chassis. Since the RP-SMA connectors are quite close together, the included tri-band antennas will not physically fit next to each other. Use magnetic bases for these, and connect the antennas to the magnetic bases.
If you are using the AW7M for Range vs. Rate (RvR) testing, see the new antenna connection guidance in the RvR user guide: CDRouter Wi-Fi Range vs Rate (RvR) User Guide
